Initial Car Theme 
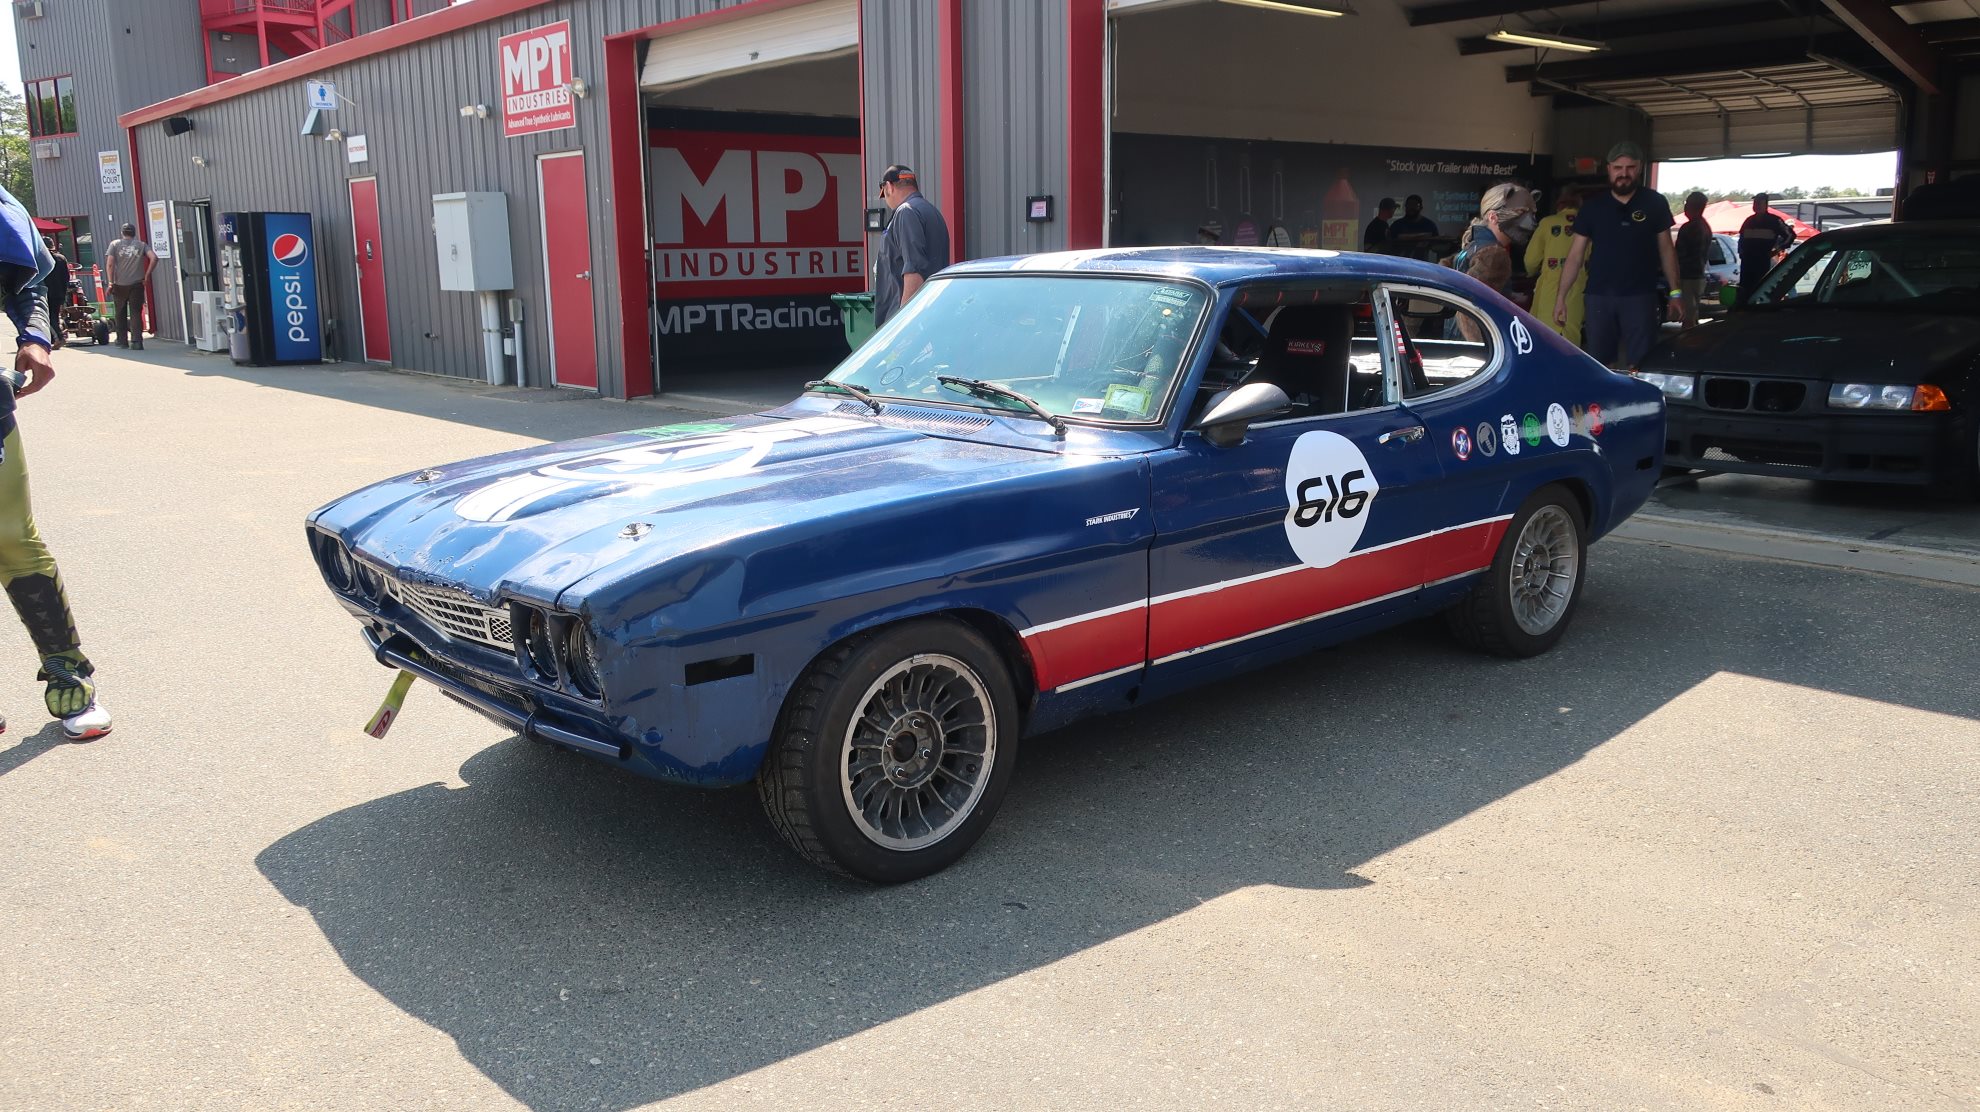
“Final” Car Theme
As you probably expected, we had zero experience on our team for car theme prep for a car in a 24 Hours of Lemons race. It took us weeks to finally come up with a team name we all could agree on. We finally settled on Garage Heroes (In Training) and hopefully it sticks, especially since it is now the website we are using. It hopefully stated our goal to eventually reach a decent level of capability both driving and mechanically, but also stated we are far from there. Finally, it complimented our team being comprised of a bunch of comic book movie fans and several of us have enjoyed comic books since the 1970âs. Yes, they had paper back then.
Now, to begin to prepare the car and the theme.
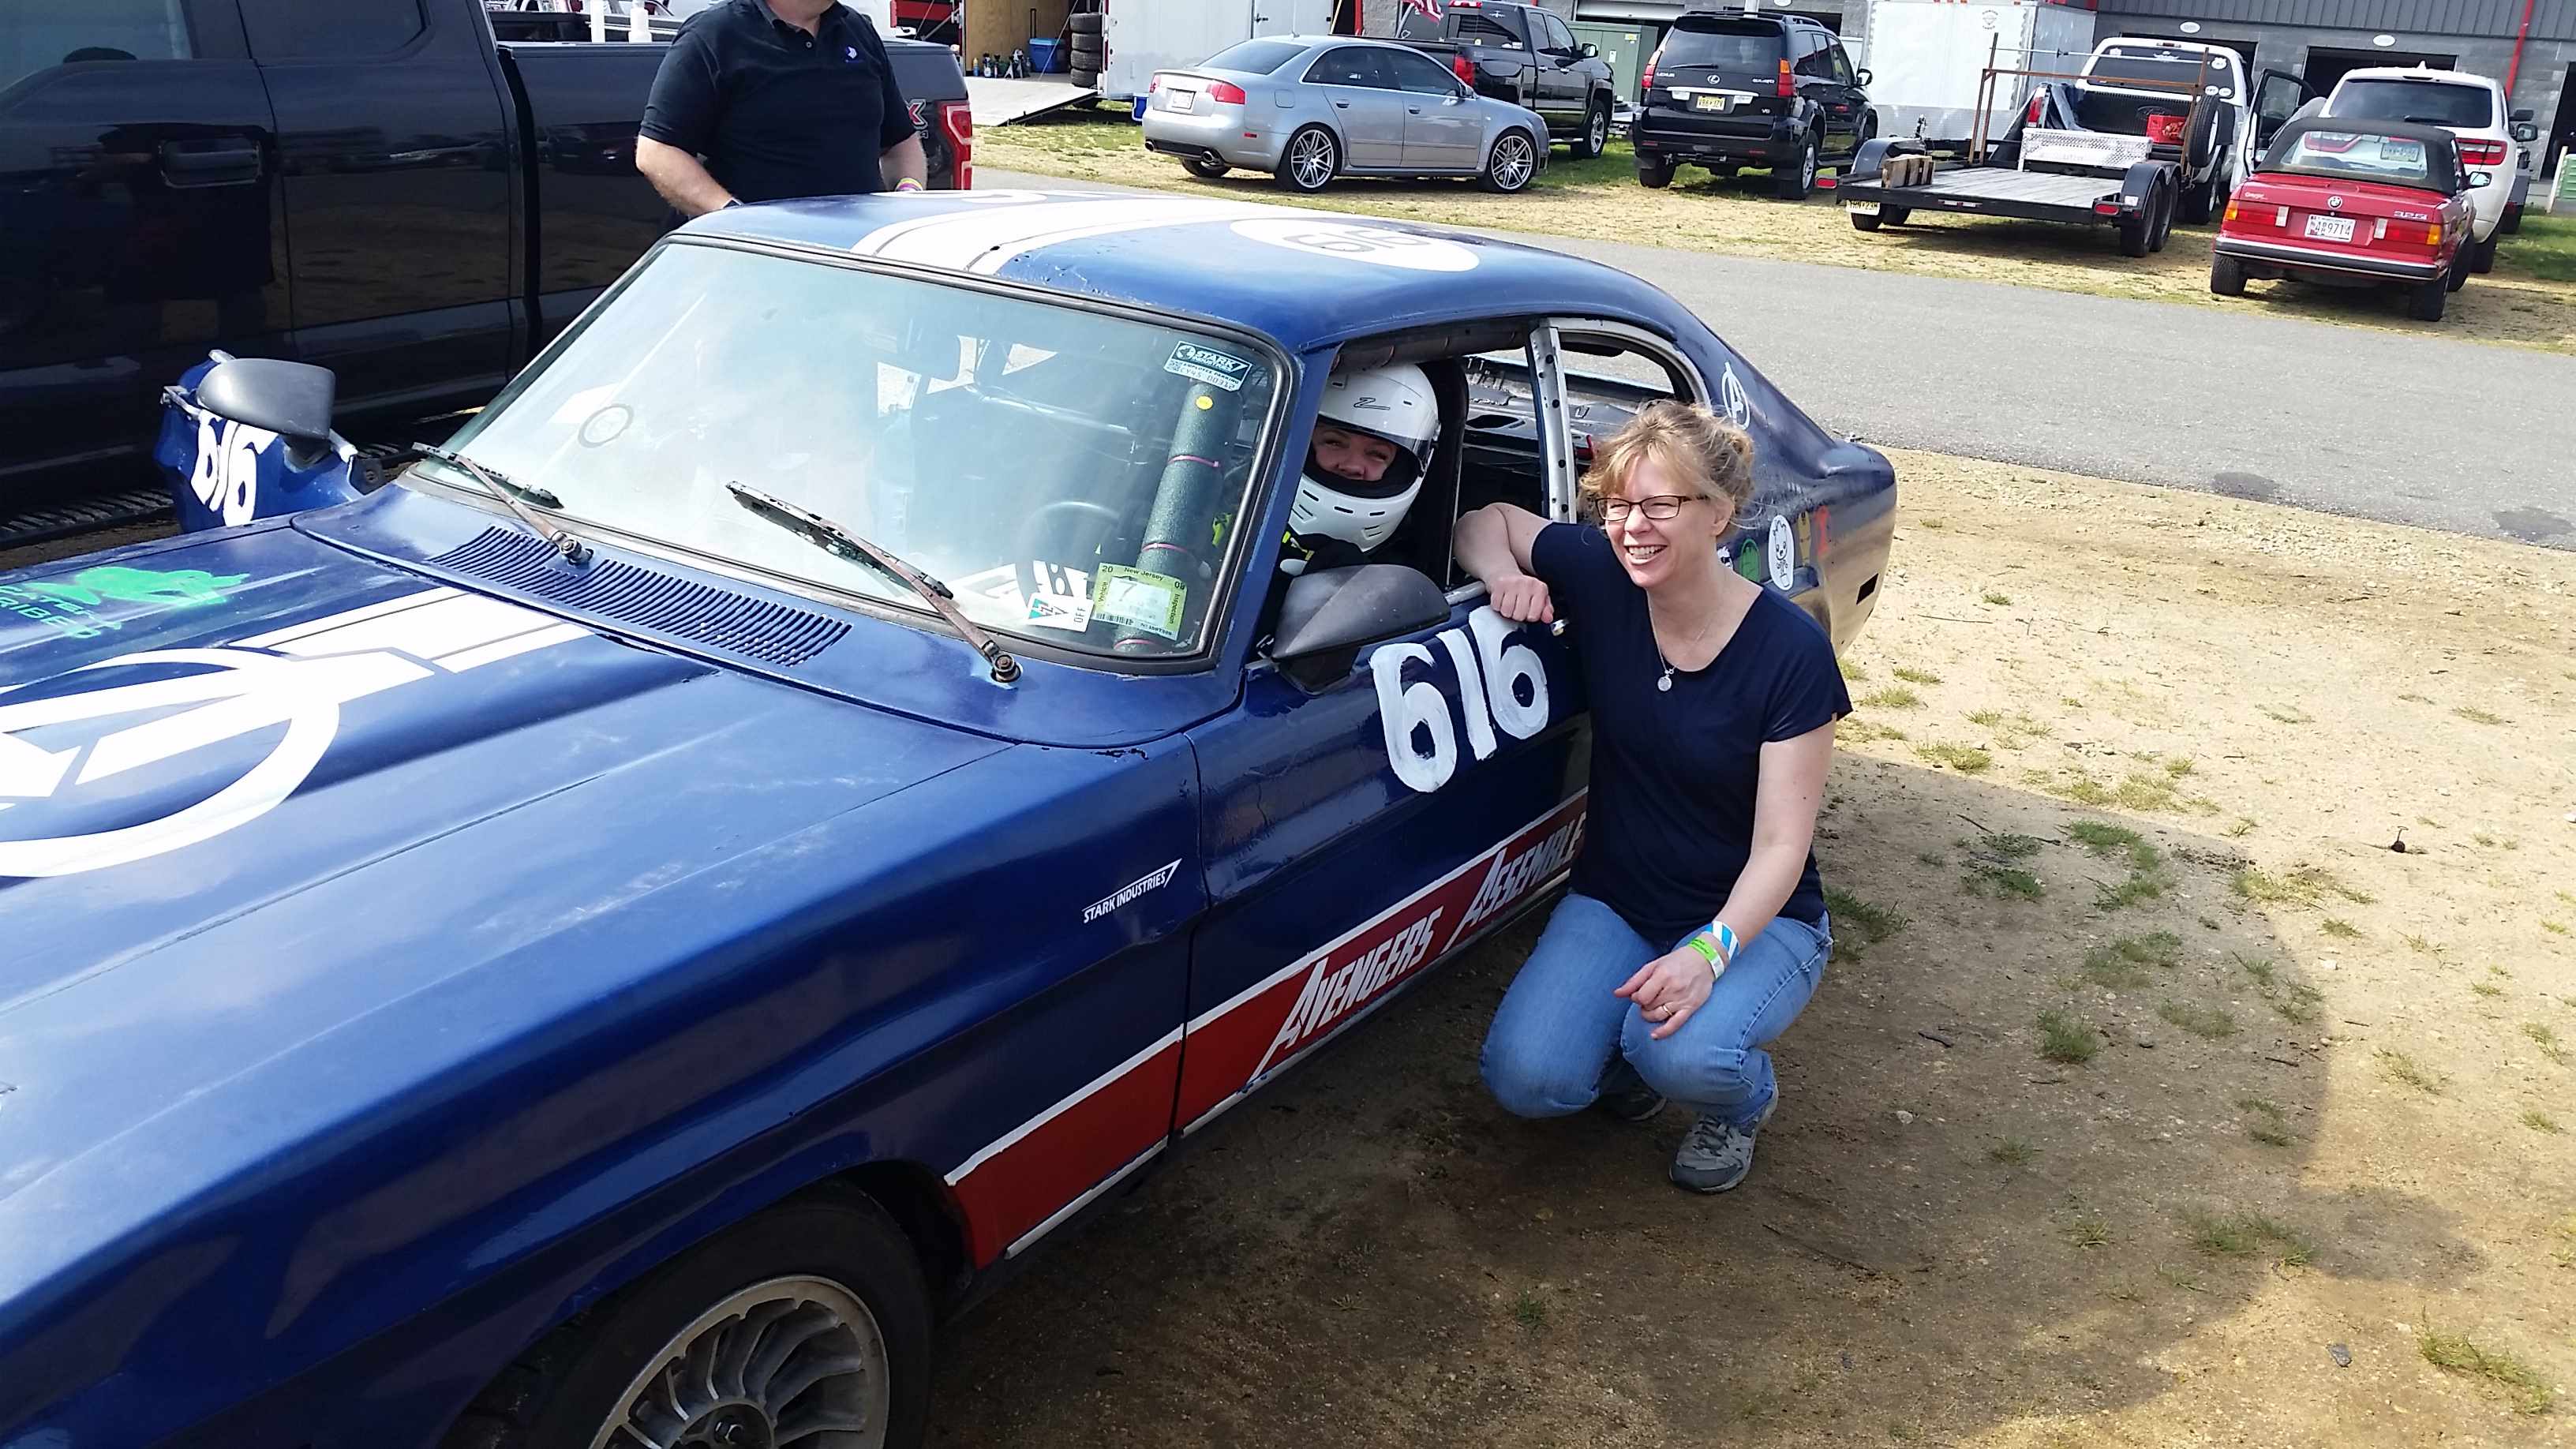
With so many colors to choose from and so many potential themes that could apply, we were baffled for quite a long time. We finally settled on the Avengers theme we ended up with. The timing was right as the fourth Avengers movie was coming out just before our May race at NJMP (and the Avengers comic was my favorite growing up going back to volume 1 issue 131 so I was on board early)
We used what we had on hand and finally some of my woodworking background came in handy. I had a HVLP spray gun for painting and we thought we could use it for painting the car. The steps we used, and our progress are covered below.
The one agreement we had with the former team (Prompt Critical) was to change our number so they could retain the old one. (Note extra credit points to the first who figures out why we chose the new number. Anyone?) Anyone familiar with painting a house knows that the key to a good outcome is the preparation steps and care. First step was to remove the stickers and decals on the car. Particularly hard for us was the hood that had a decal that seemed like it was made of metal, but we eventually got through it. As they say we had a team âbeach partyâ because there was plenty of sanding to do. Top tip: Slurpeeâs and pizza increased productivity dramatically. We tried every type and device we could find or think of at a lot of various grit sizes. What we found worked best was the following items.


- Sponge sanding blocks, 60, 120, and 240 grit, especially the ones with the grooves
- Rubber sanding paper cleaner stick. Takes all the residue out from between the grit and expends the life of the sanding surface by 3-4x or so.
- Red nylon wool discs for a hand drill:Â gets a good amount of paint and decal removal, especially in the bottom of panel grooves.Â
- Orbital disc sander:Â works on flat surfaces very well but pay attention to not groove metal panels
- We did not try a belt sander although it was suggested. Our concern was the rapid material removal may be too fast and cause surface damage to the sheet metal of the body .
- Bondo: We donât need no stinking Bondo. It was our goal not to use it unless absolutely necessary. It was probably necessary, but we didnât use it anyway.Â
- Adding to the complexity of this operation was the rust and the rusted through holes (I am guessing this is fairly common for many/most Lemons cars to be). Rust is a ceramic material and as such it is much harder than the metal and the removal rate is much slower. Pay special attention to any area that may have rust so that you donât remove more metal from the area around the rust than the area of the rust.Â
Our process was to remove most of the paint and all the decals looking to get a smooth surface. The prior paint was probably original and had a ton of oxidation, so it had nearly a sand paper texture to it. Hopefully your surface wonât be as rough. We ended up about 60% or so bare metal. We were going to paint it almost immediately, but if not, you may want to apply a thin coat of primer or clear to prevent any rust from coming back as bare metal rusts quickly.Â
We then masked off the surfaces with paintersâ tape and painting paper and began our first effort to spray paint a car.
We had decided to paint with an automotive paint from a local Colours store. We chose a dark blue for our car and âsaved money” by not priming or applying a clear coat after. We shall see how the painted surface wears with time. We ended up getting one gallon and using almost all of it on our relatively small car (but we probably painted it a bit thicker than needed).
The desired goal was to look good at twenty feet. We would be happy to look good at 20 feet and 50 mph. I think we got there. But there are a lot of drips, mostly due to overly thick layers of paint.

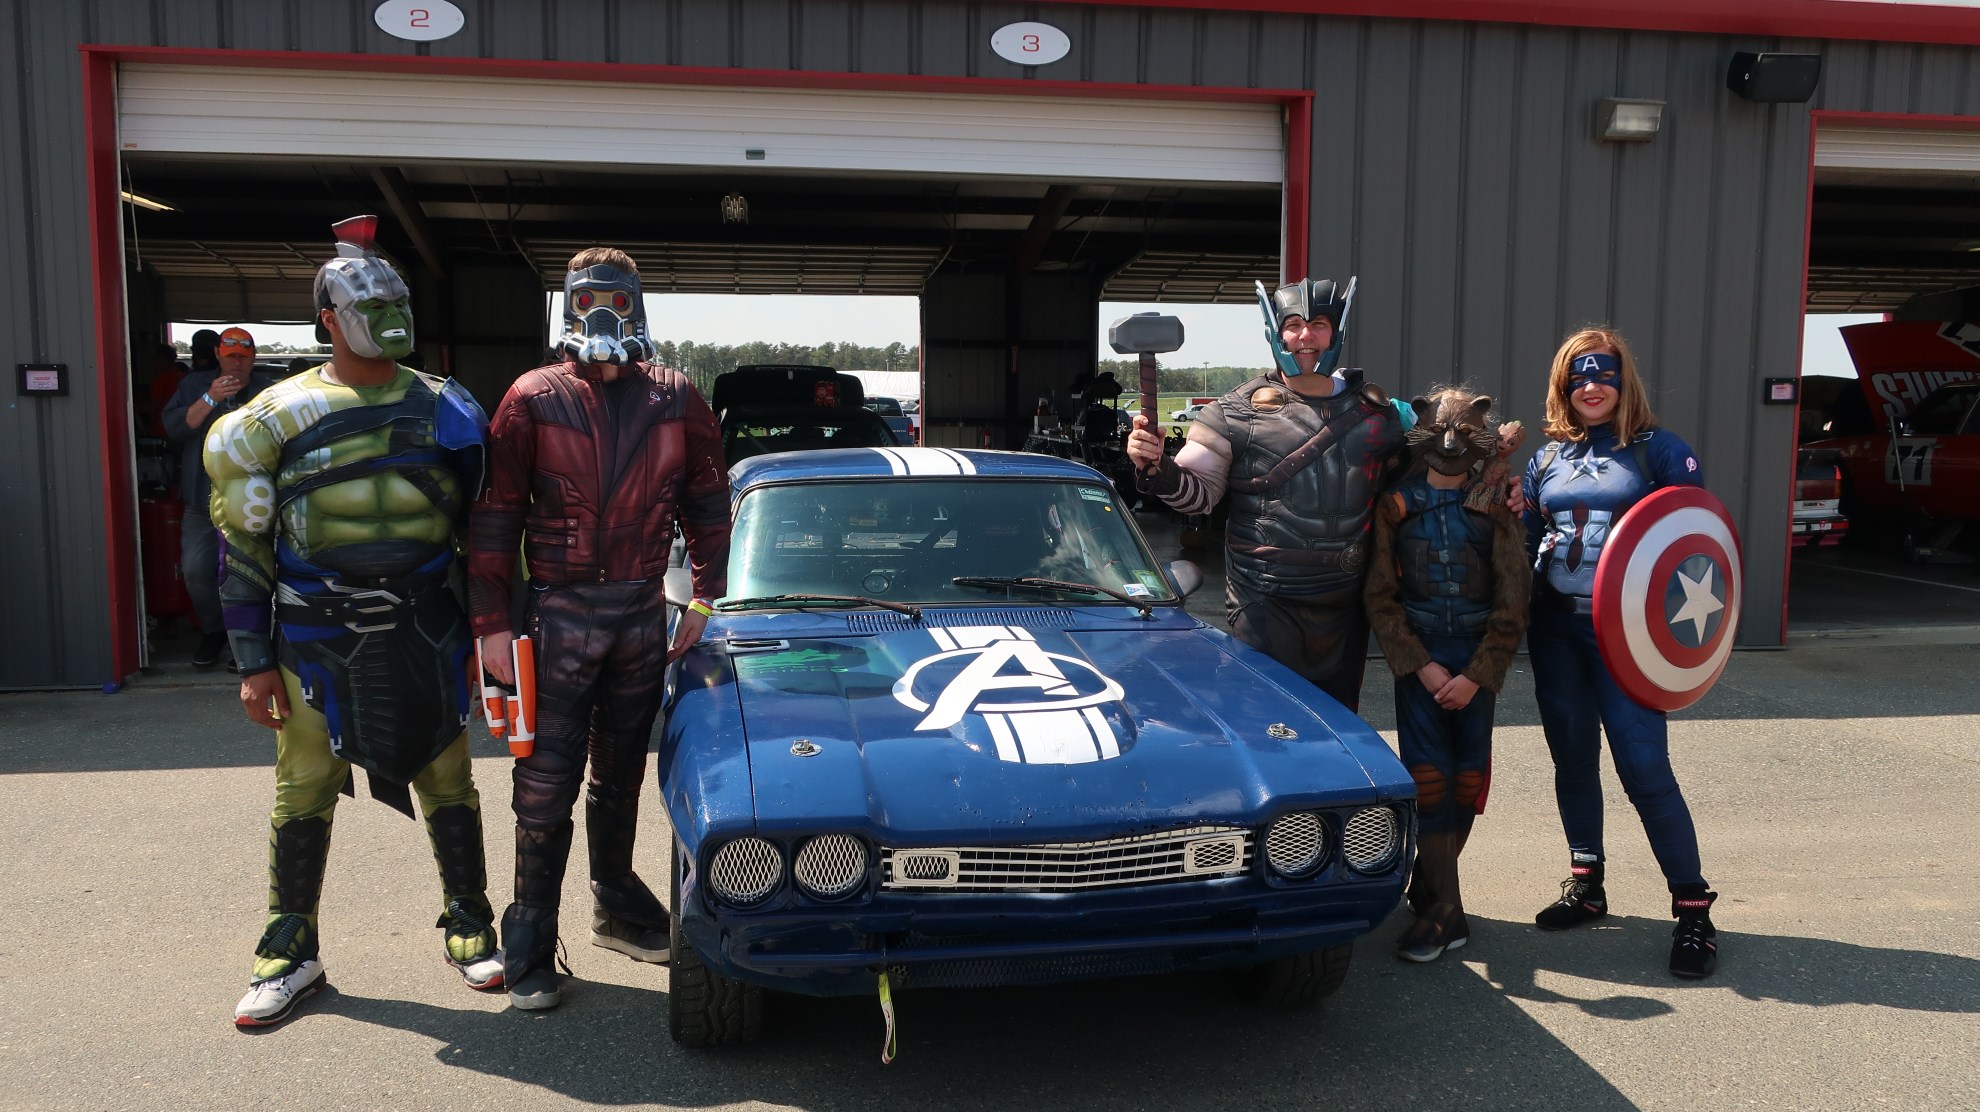
At Tech Inspection 

“Final” Car Theme 

Relaxing after Tech
Things we found/learned:
- Try to spray in thin coats. This means the color changes but may not reach the final color. Come back later with another coat in 15-30 minutes.
- Try to keep a wet edge to avoid varying paint thickness
- Try to move the paint in a path where it is at the same angle to the paint surface, not in the natural arc you would get from pivoting at you shoulder etc.Â
- Short people and kids are great for reaching the lower sections like the rockers etc.
- Masking off tires with a cloth paint drip cloth is the easiest thing we found so far
- We “heardâ that when masking off the car, donât forget to mask off behind the grill or you could end up with a painted radiator. There is no evidence of this happening on our car. Seriously, no, never happened. Just helping a friend. Â
- Painting outside in the sun and wind are not best practices but it is what we had so we did, and it worked OK. Again we werenât looking to get into a showroom here.
- Try to give the car about 2-3 three days to dry and harden. That includes donât put a car cover on to keep any rain out etc.Â


Now we have a blue car and while it may look better, this is not what a Lemons racing car is thought to look like. We need stripes and decals and lots of other stuff. We ended up going with a long, centered Go Fast stripe vinyl decal we found on Amazon. We also found a large Avengers âAâ vinyl decal for the front hood that we liked. Add a few more character stickers to the car as âdriver iconsâ and the car was basically where we wanted it to be. Some hand painted touches of the side stripes of white and red by our artsy team member Vicki and another vinyl “Avengers Assemble” decal provided by our friend Jeff at the Three Pedal Mafia and the car was as ready as we knew how to get it.
Estimated costs were about $100 in prep supplies, $300 in auto paint, $20 in other paint. $200 or so in decals and it took about 5 long days with 4-5 people.
We hope you think it turned out ok. If you have any questions or need more detail for nay part, please let us know.
Enjoy the Ride!
