• Skip to primary navigation
  • Skip to main content
  • Skip to primary sidebar
Garage Heroes (In Training)

Garage Heroes (In Training)

Learning as we go. Come along with us and Enjoy the Ride!

  • About Us
  • Our Cars
  • Our Drivers
  • Handy Links
  • Tips/Tricks
  • Contact Us
  • Questions or Comments
  • Sponsorship

Themes

GHiT 0044: Nick Pon – Our Special Guest

Nick Pon from the 24 Hours of Lemons HQ

Nick Pon from Lemons HQ

On this episode, we were joined by Nick Pon from the 24 Hours of Lemons HQ.  Nick is a car enthusiast for the vast majority of his life and worked with the Lemons team since the inception.  During this interview, we were able to go over Nick’s history, both with Lemons and personally. 

Highlights included:  

  1.  Thoughts on how you Lemons has gone so far, the Good, The Bad and The Ugly
  2. What is planned for NJMP next weekend with Race, Radwood, Hooptiecon and everything else on site

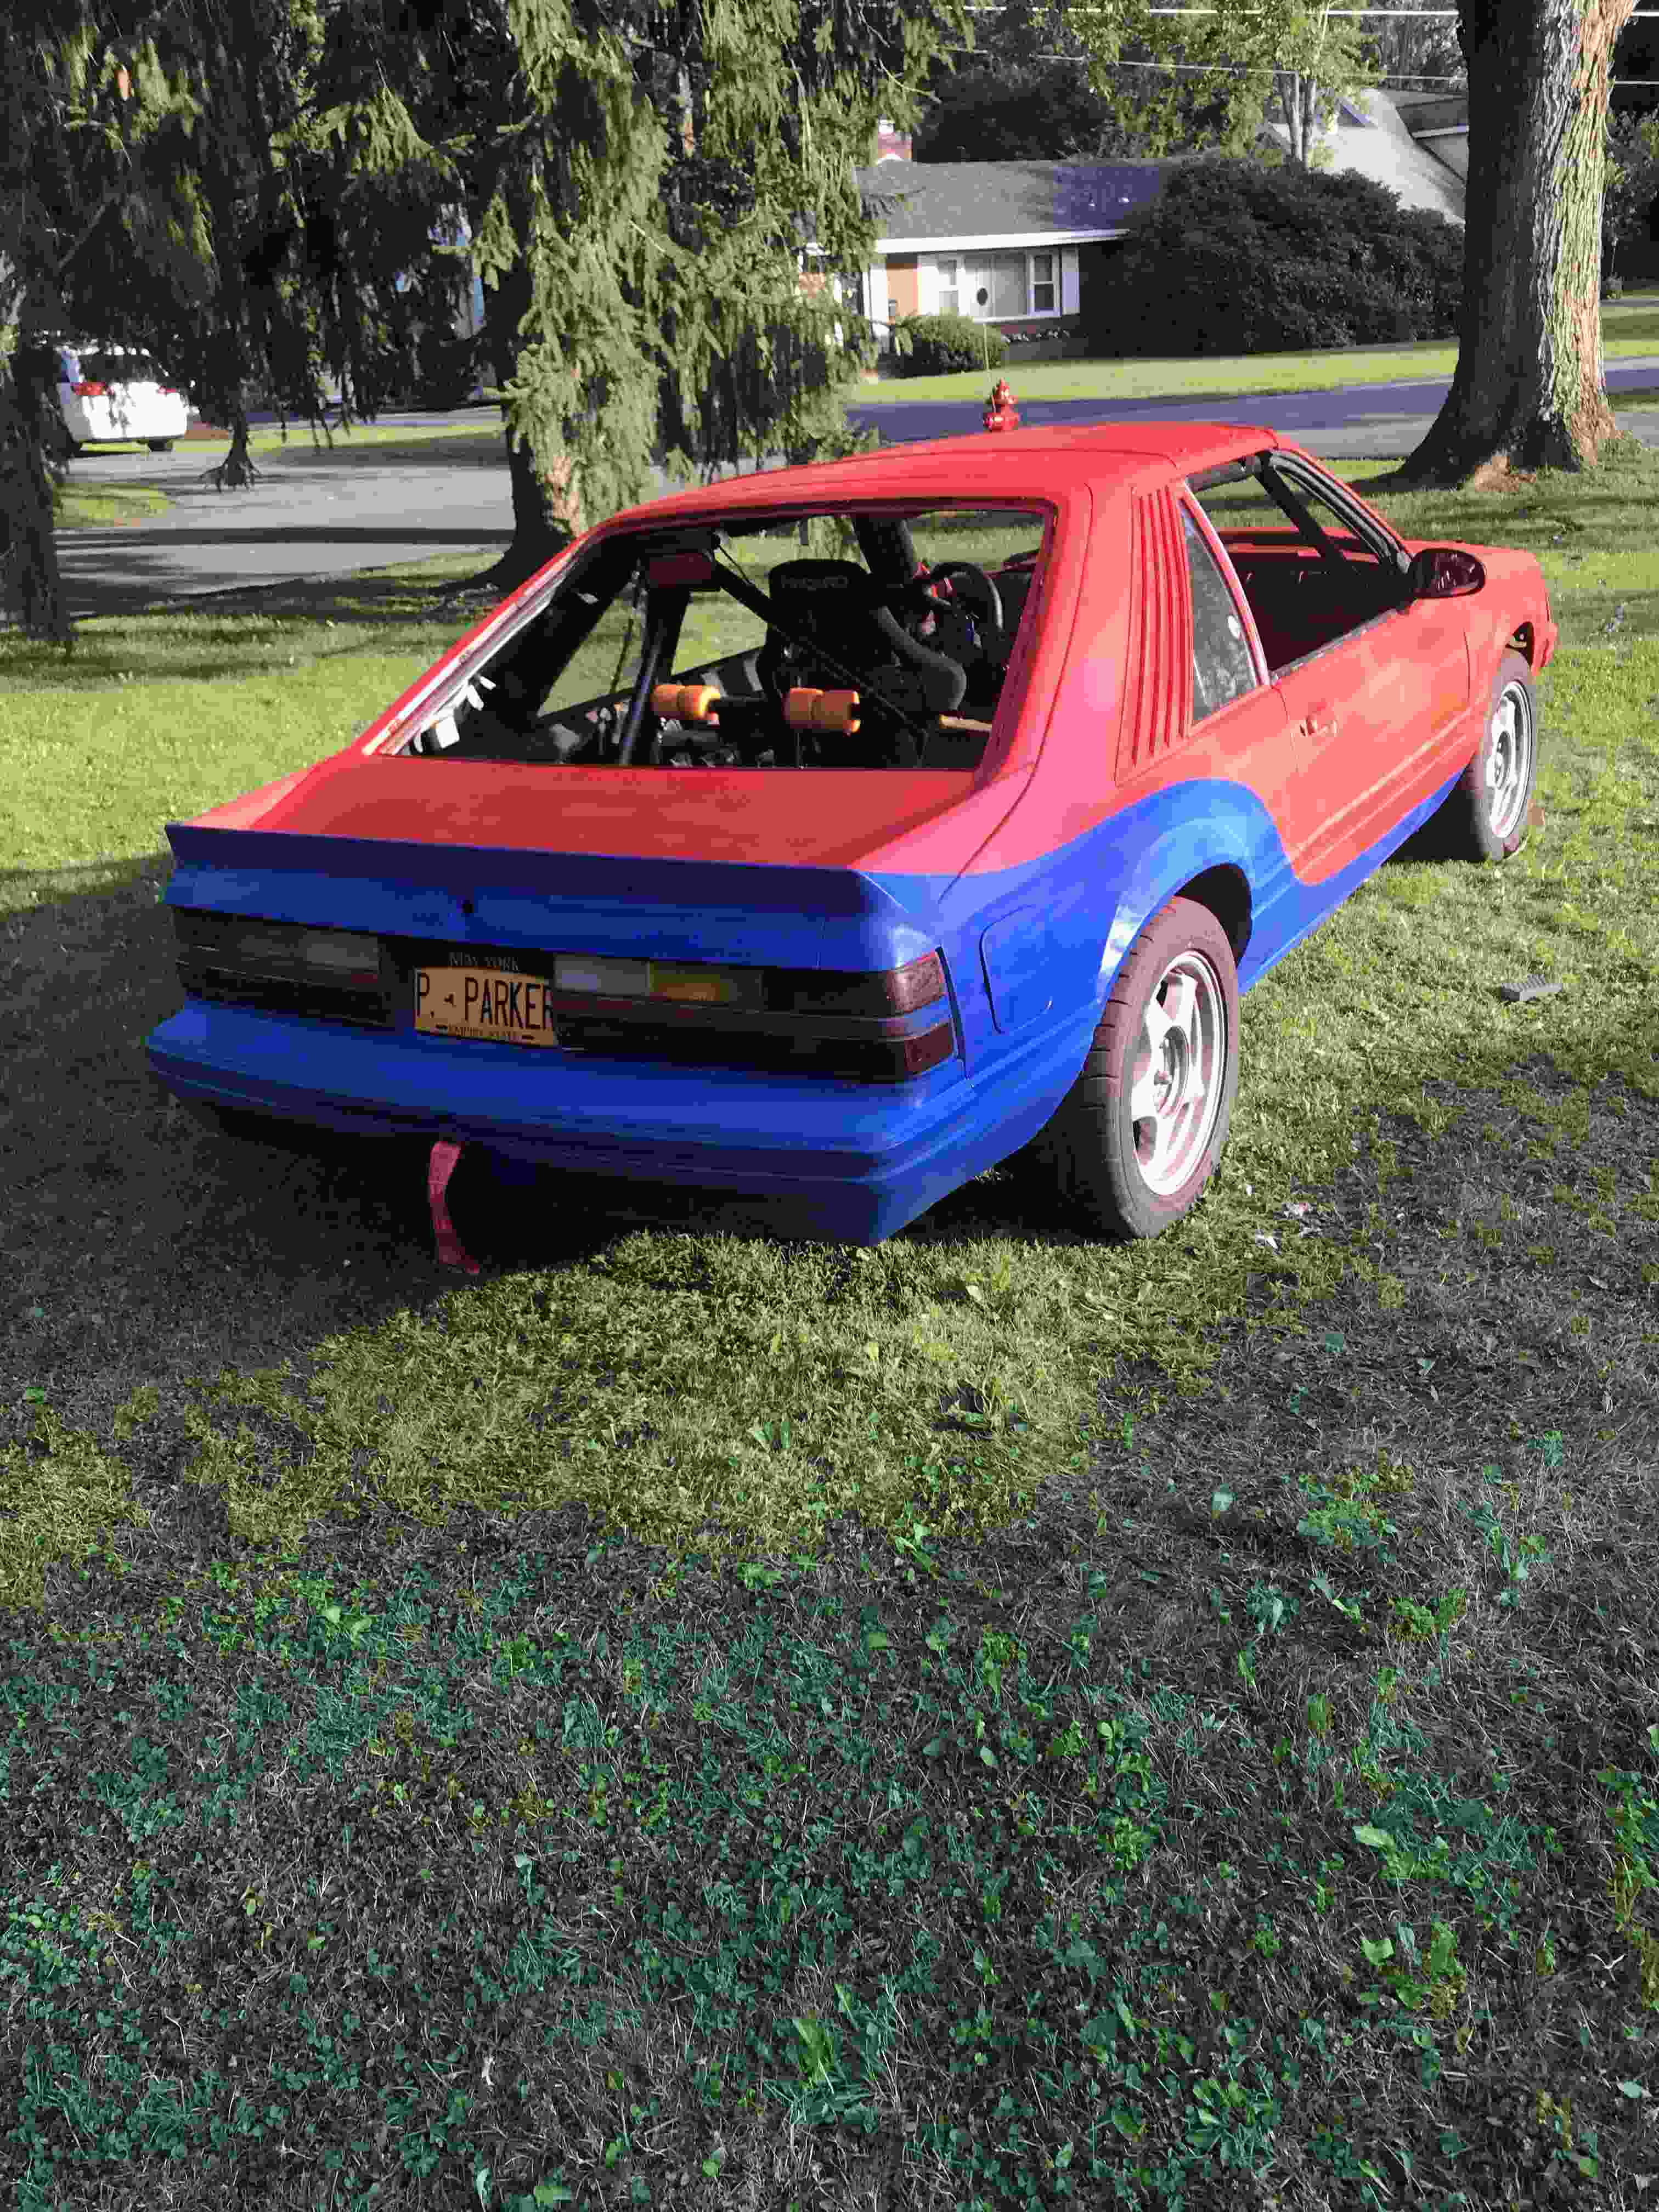
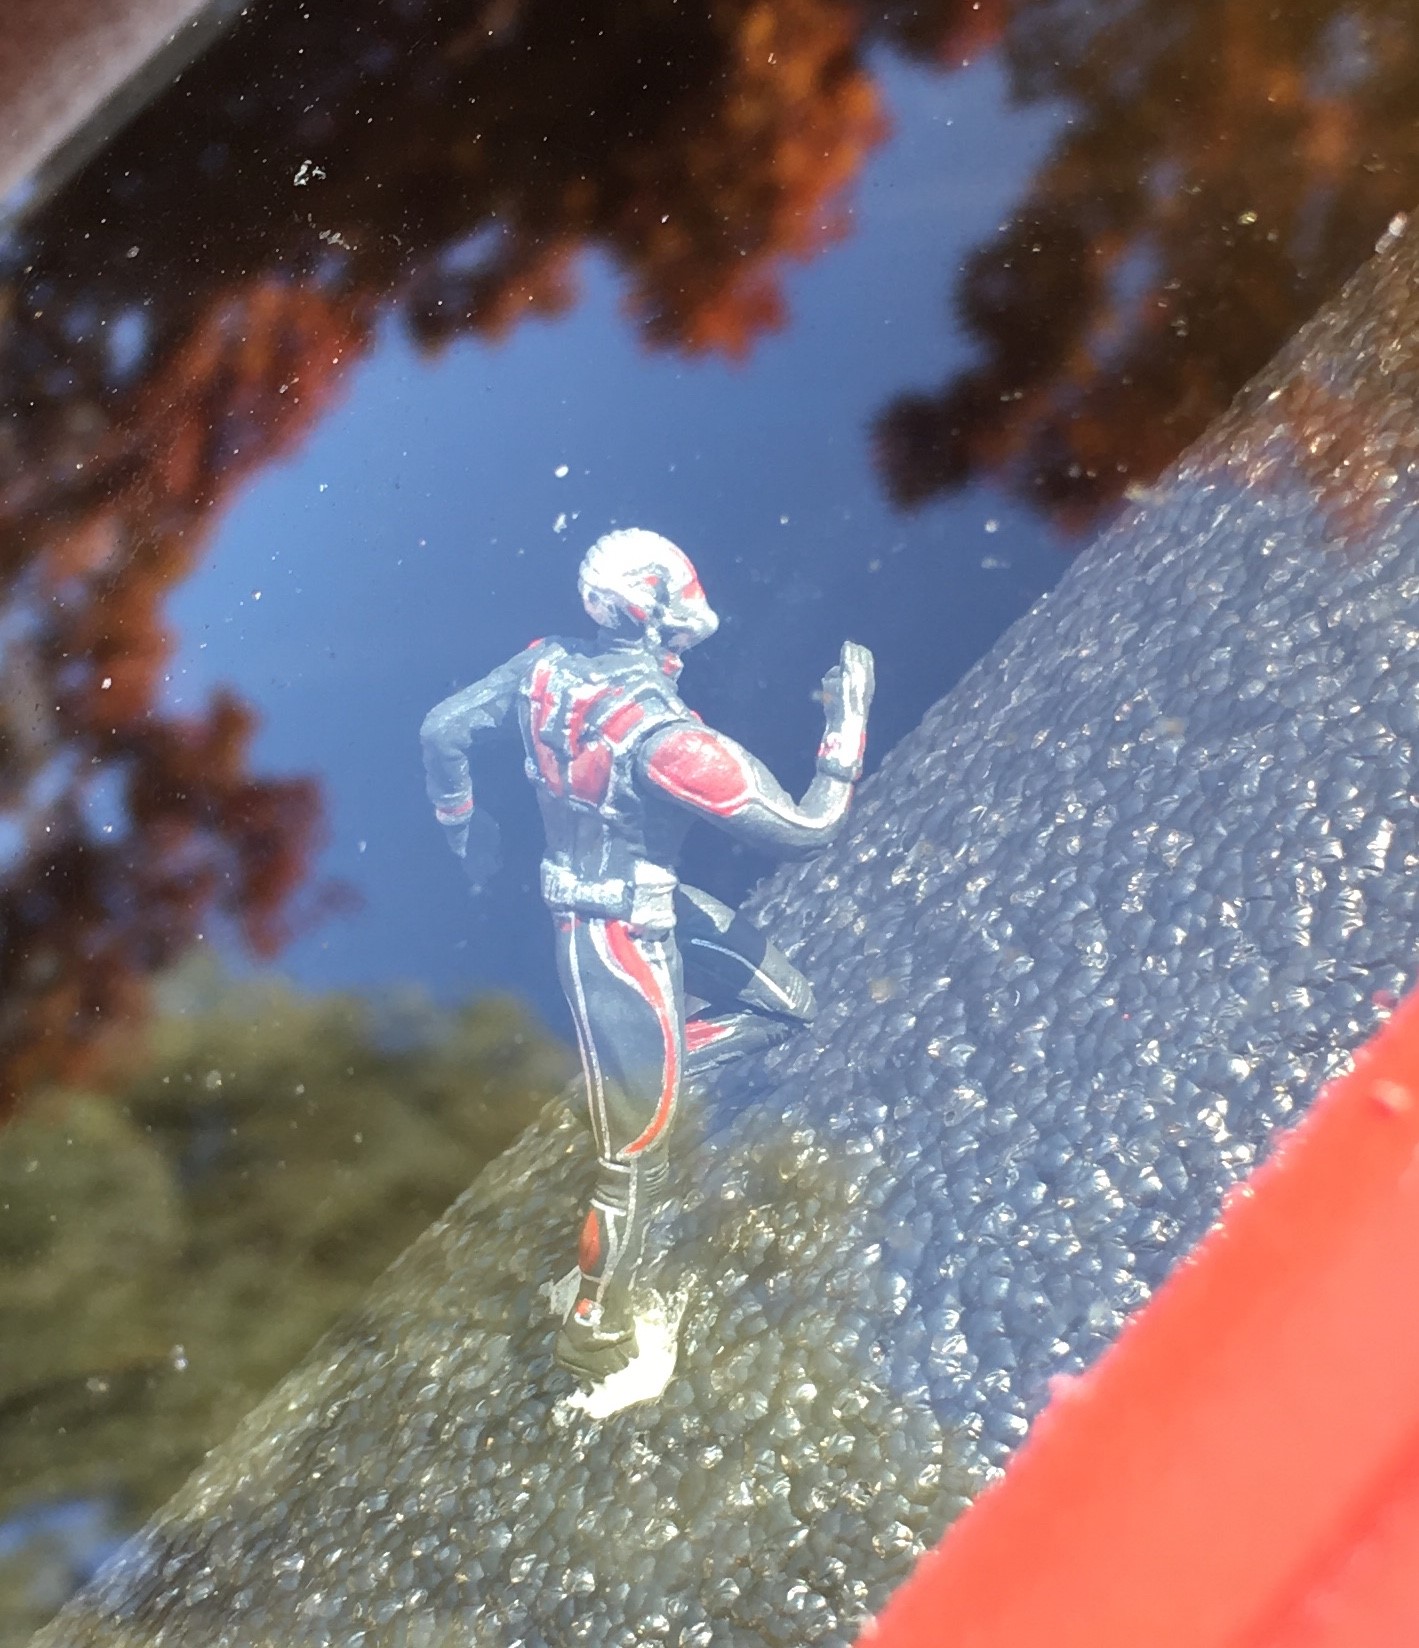
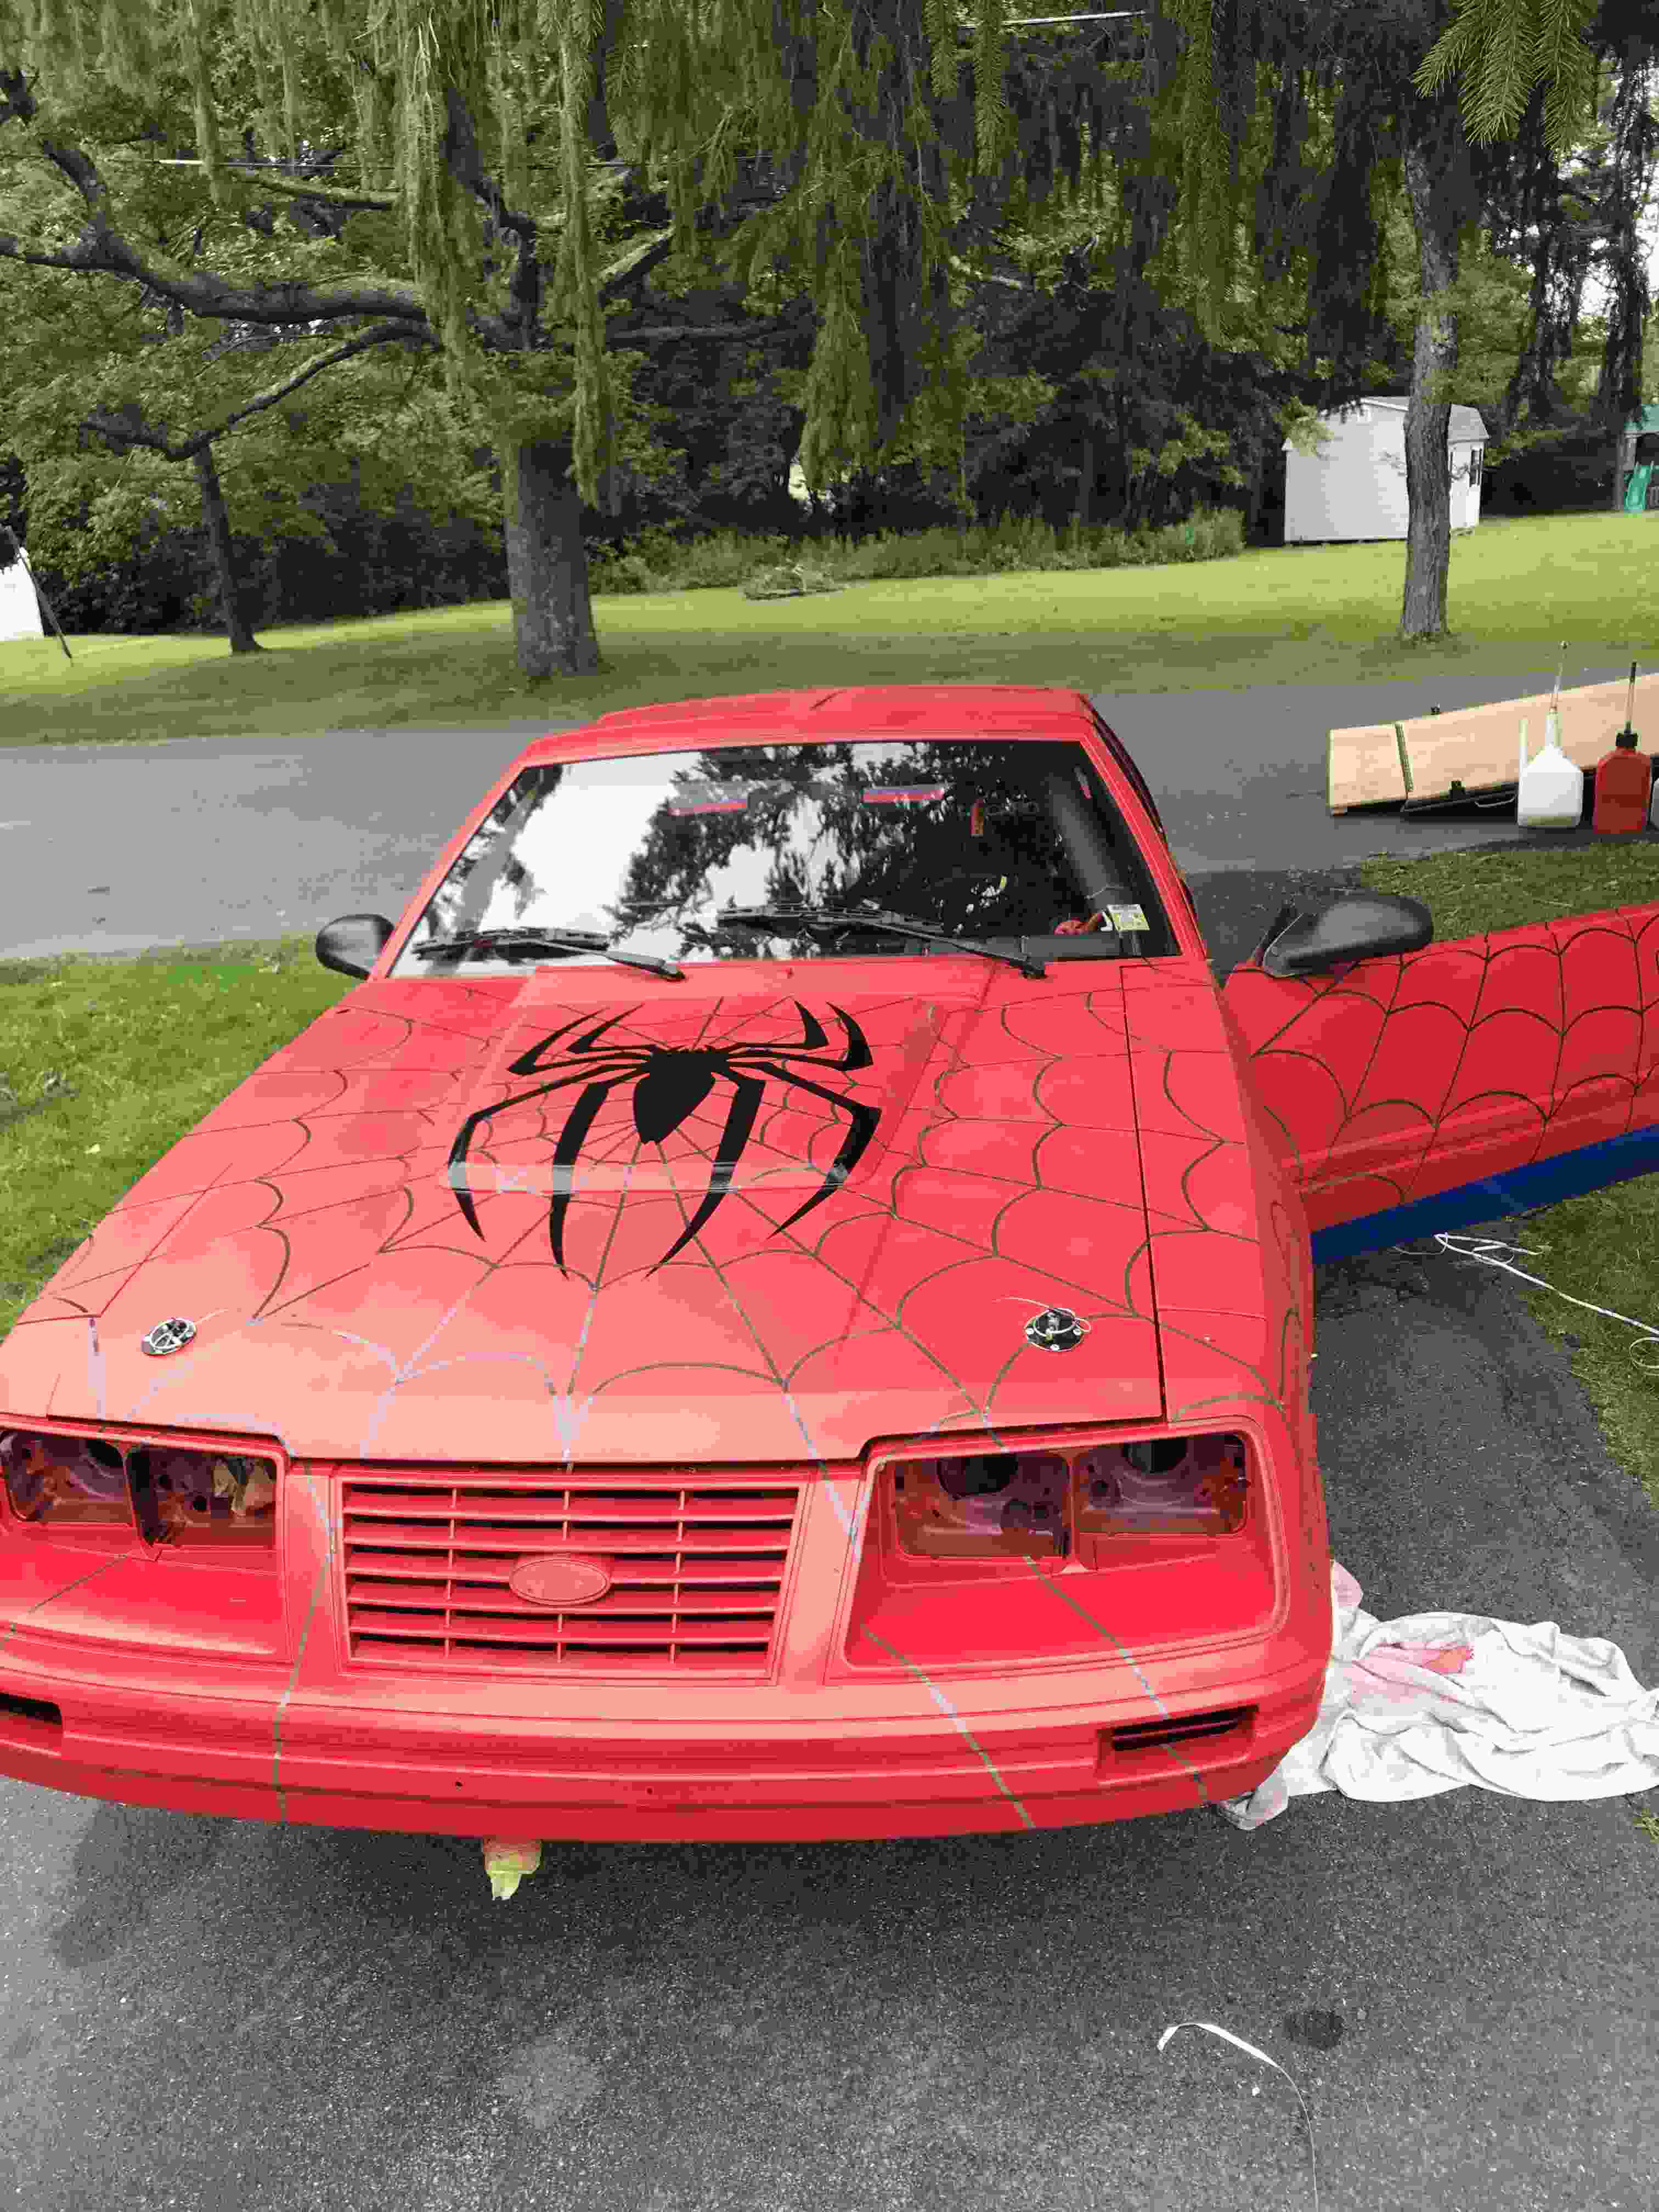
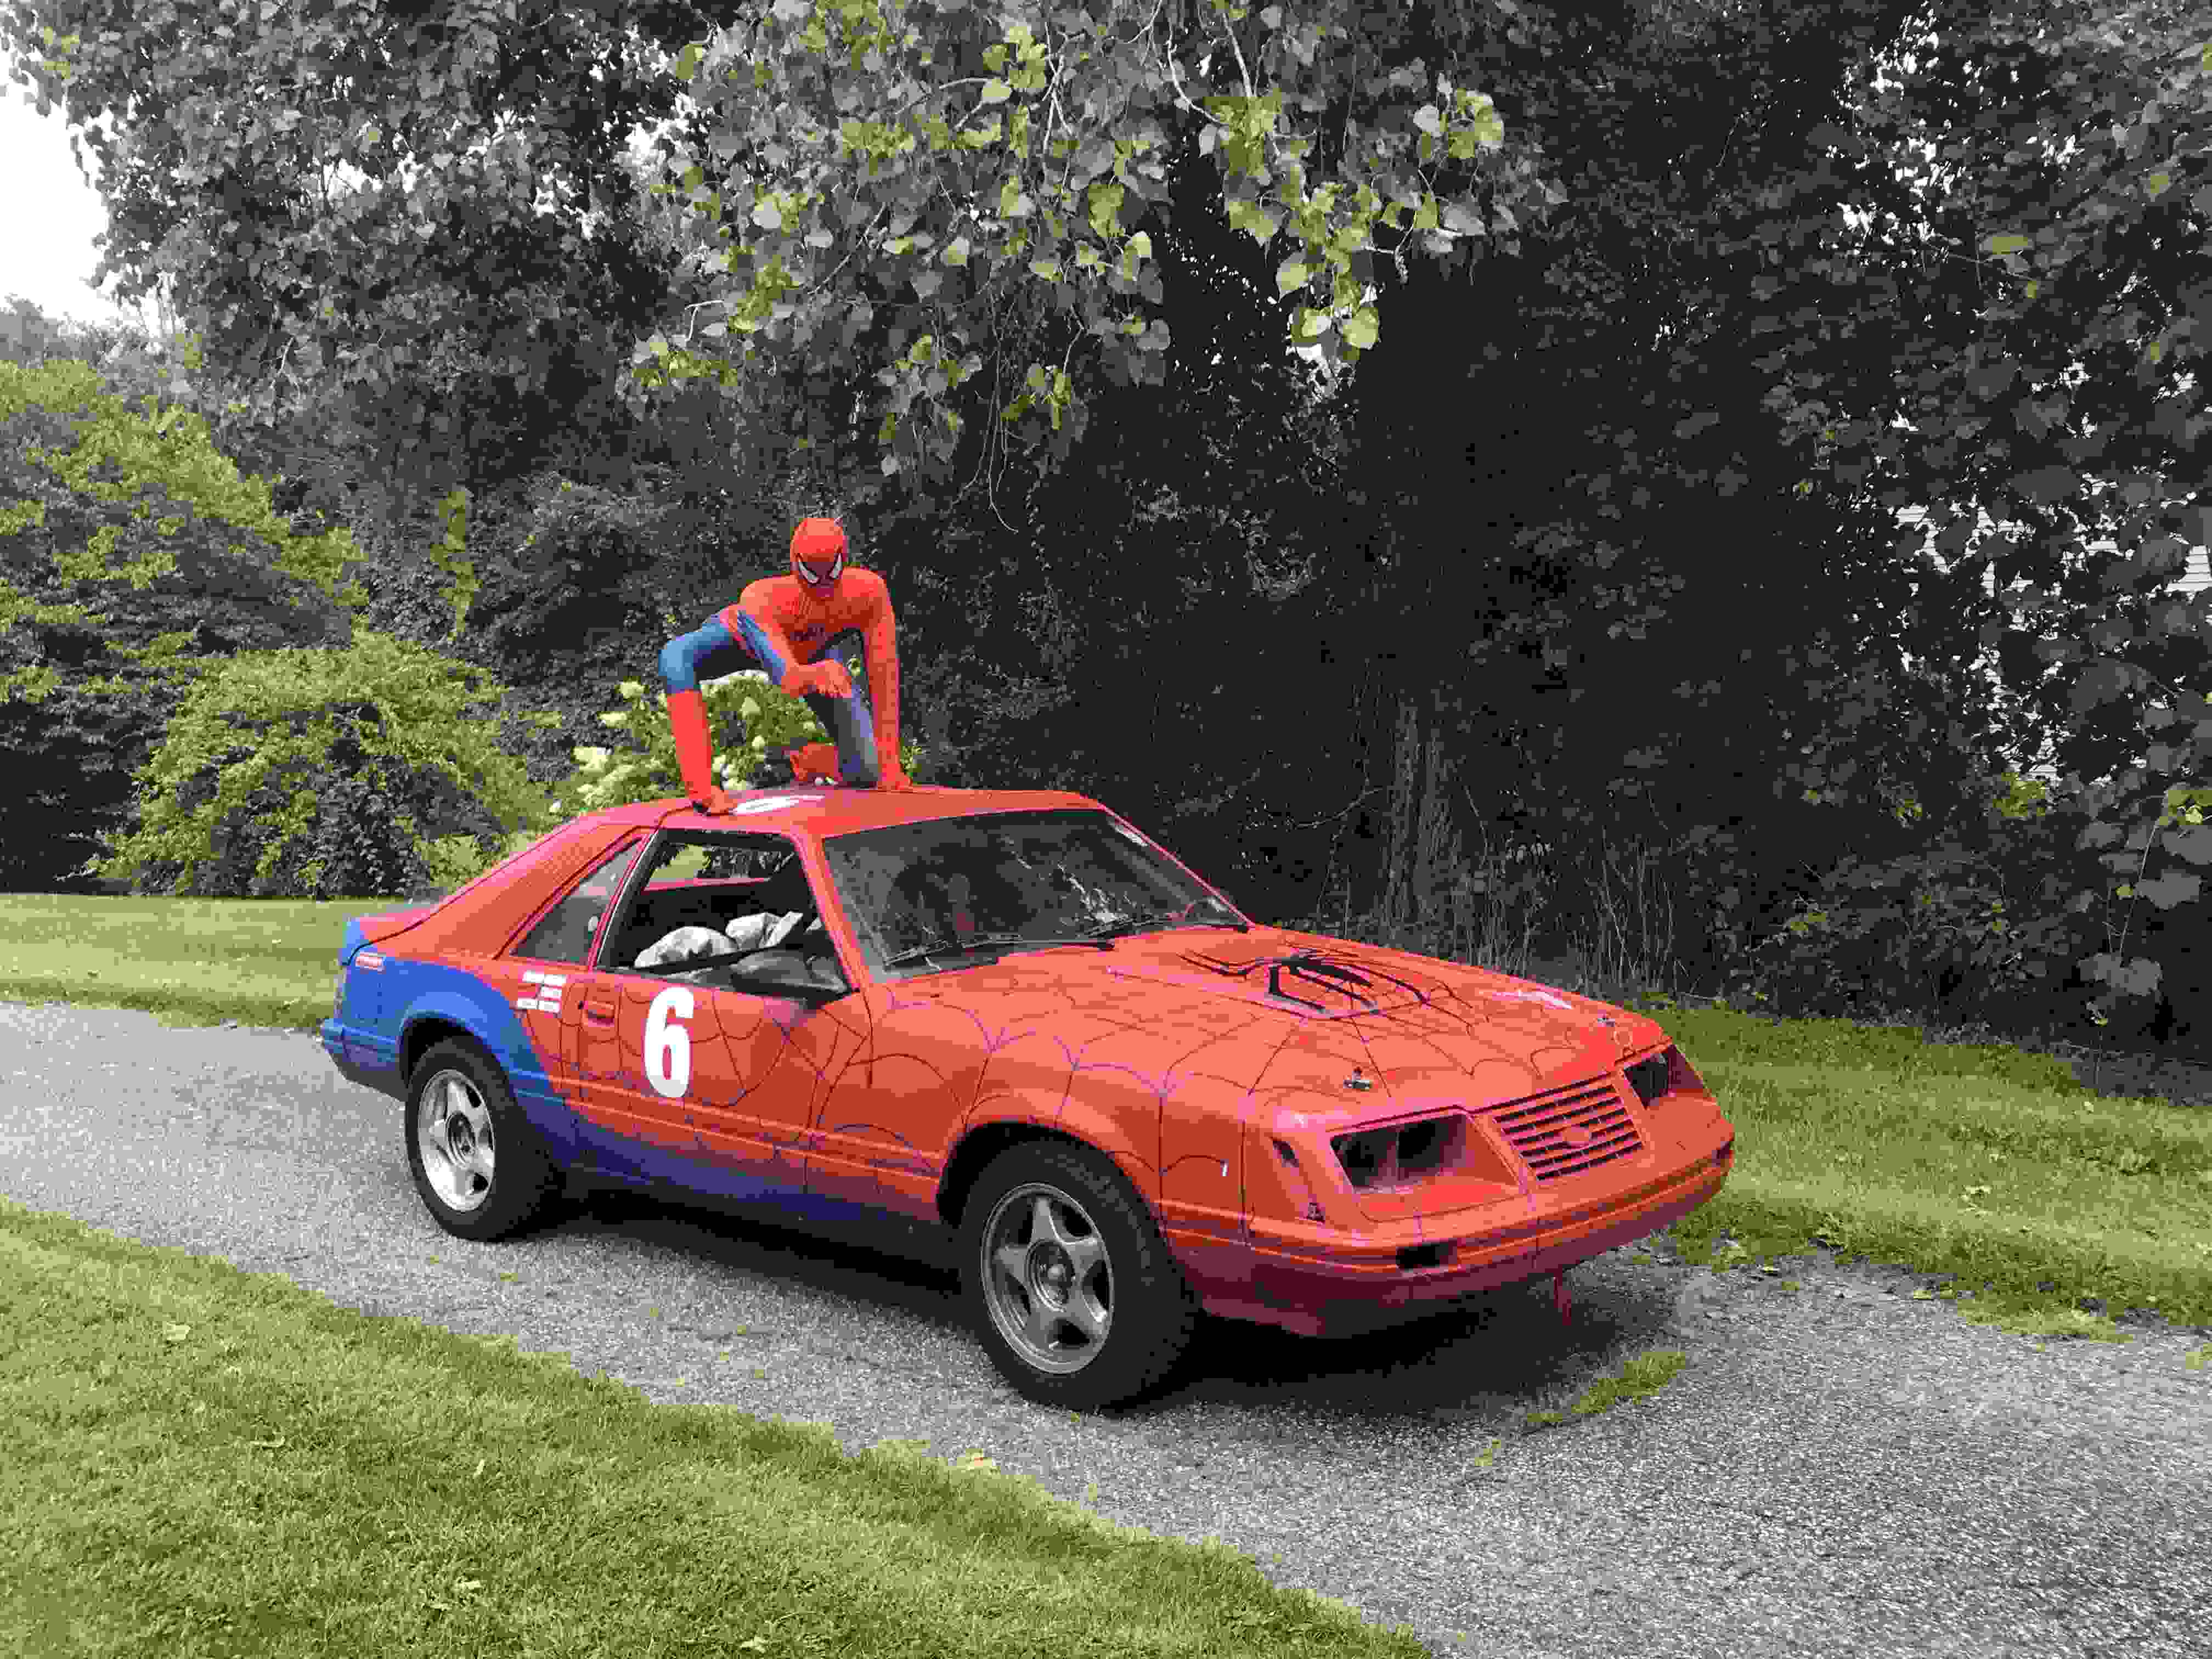
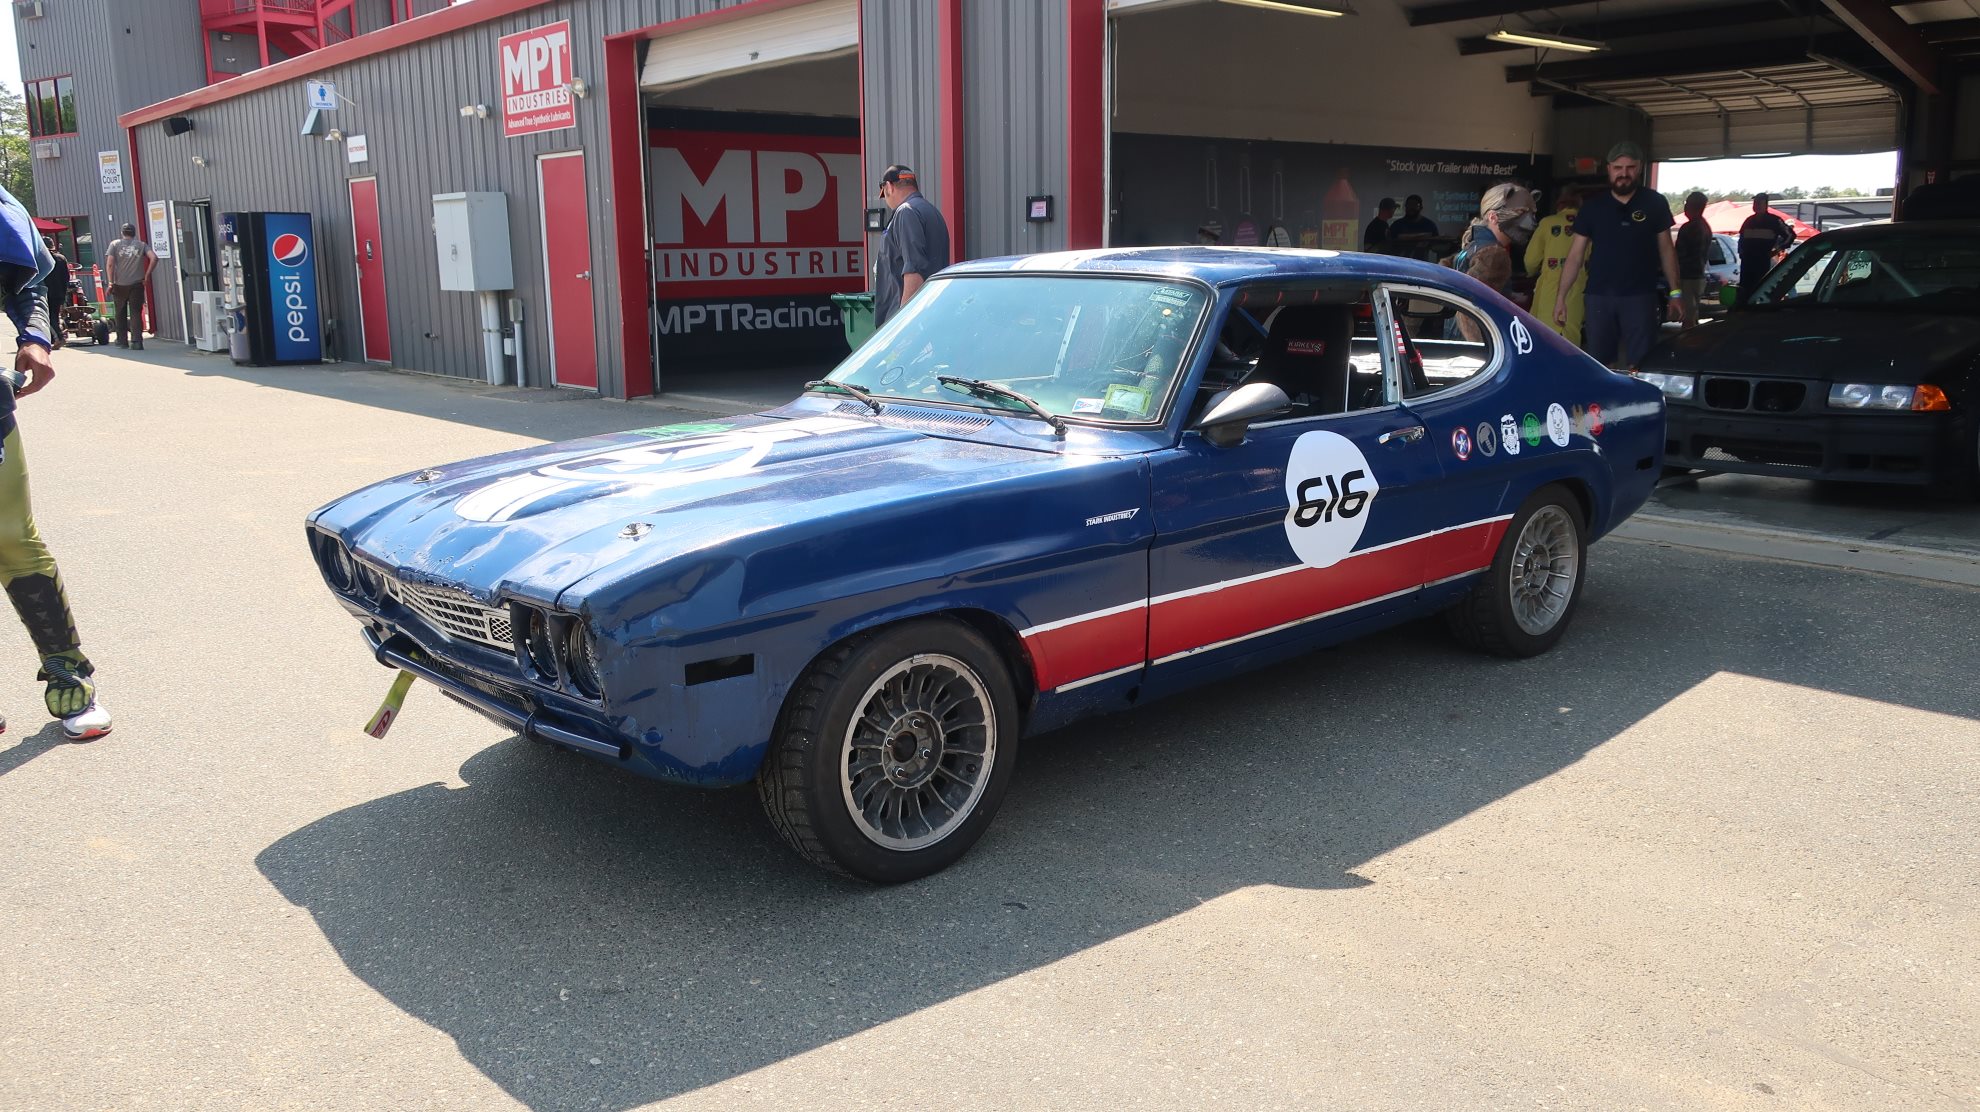
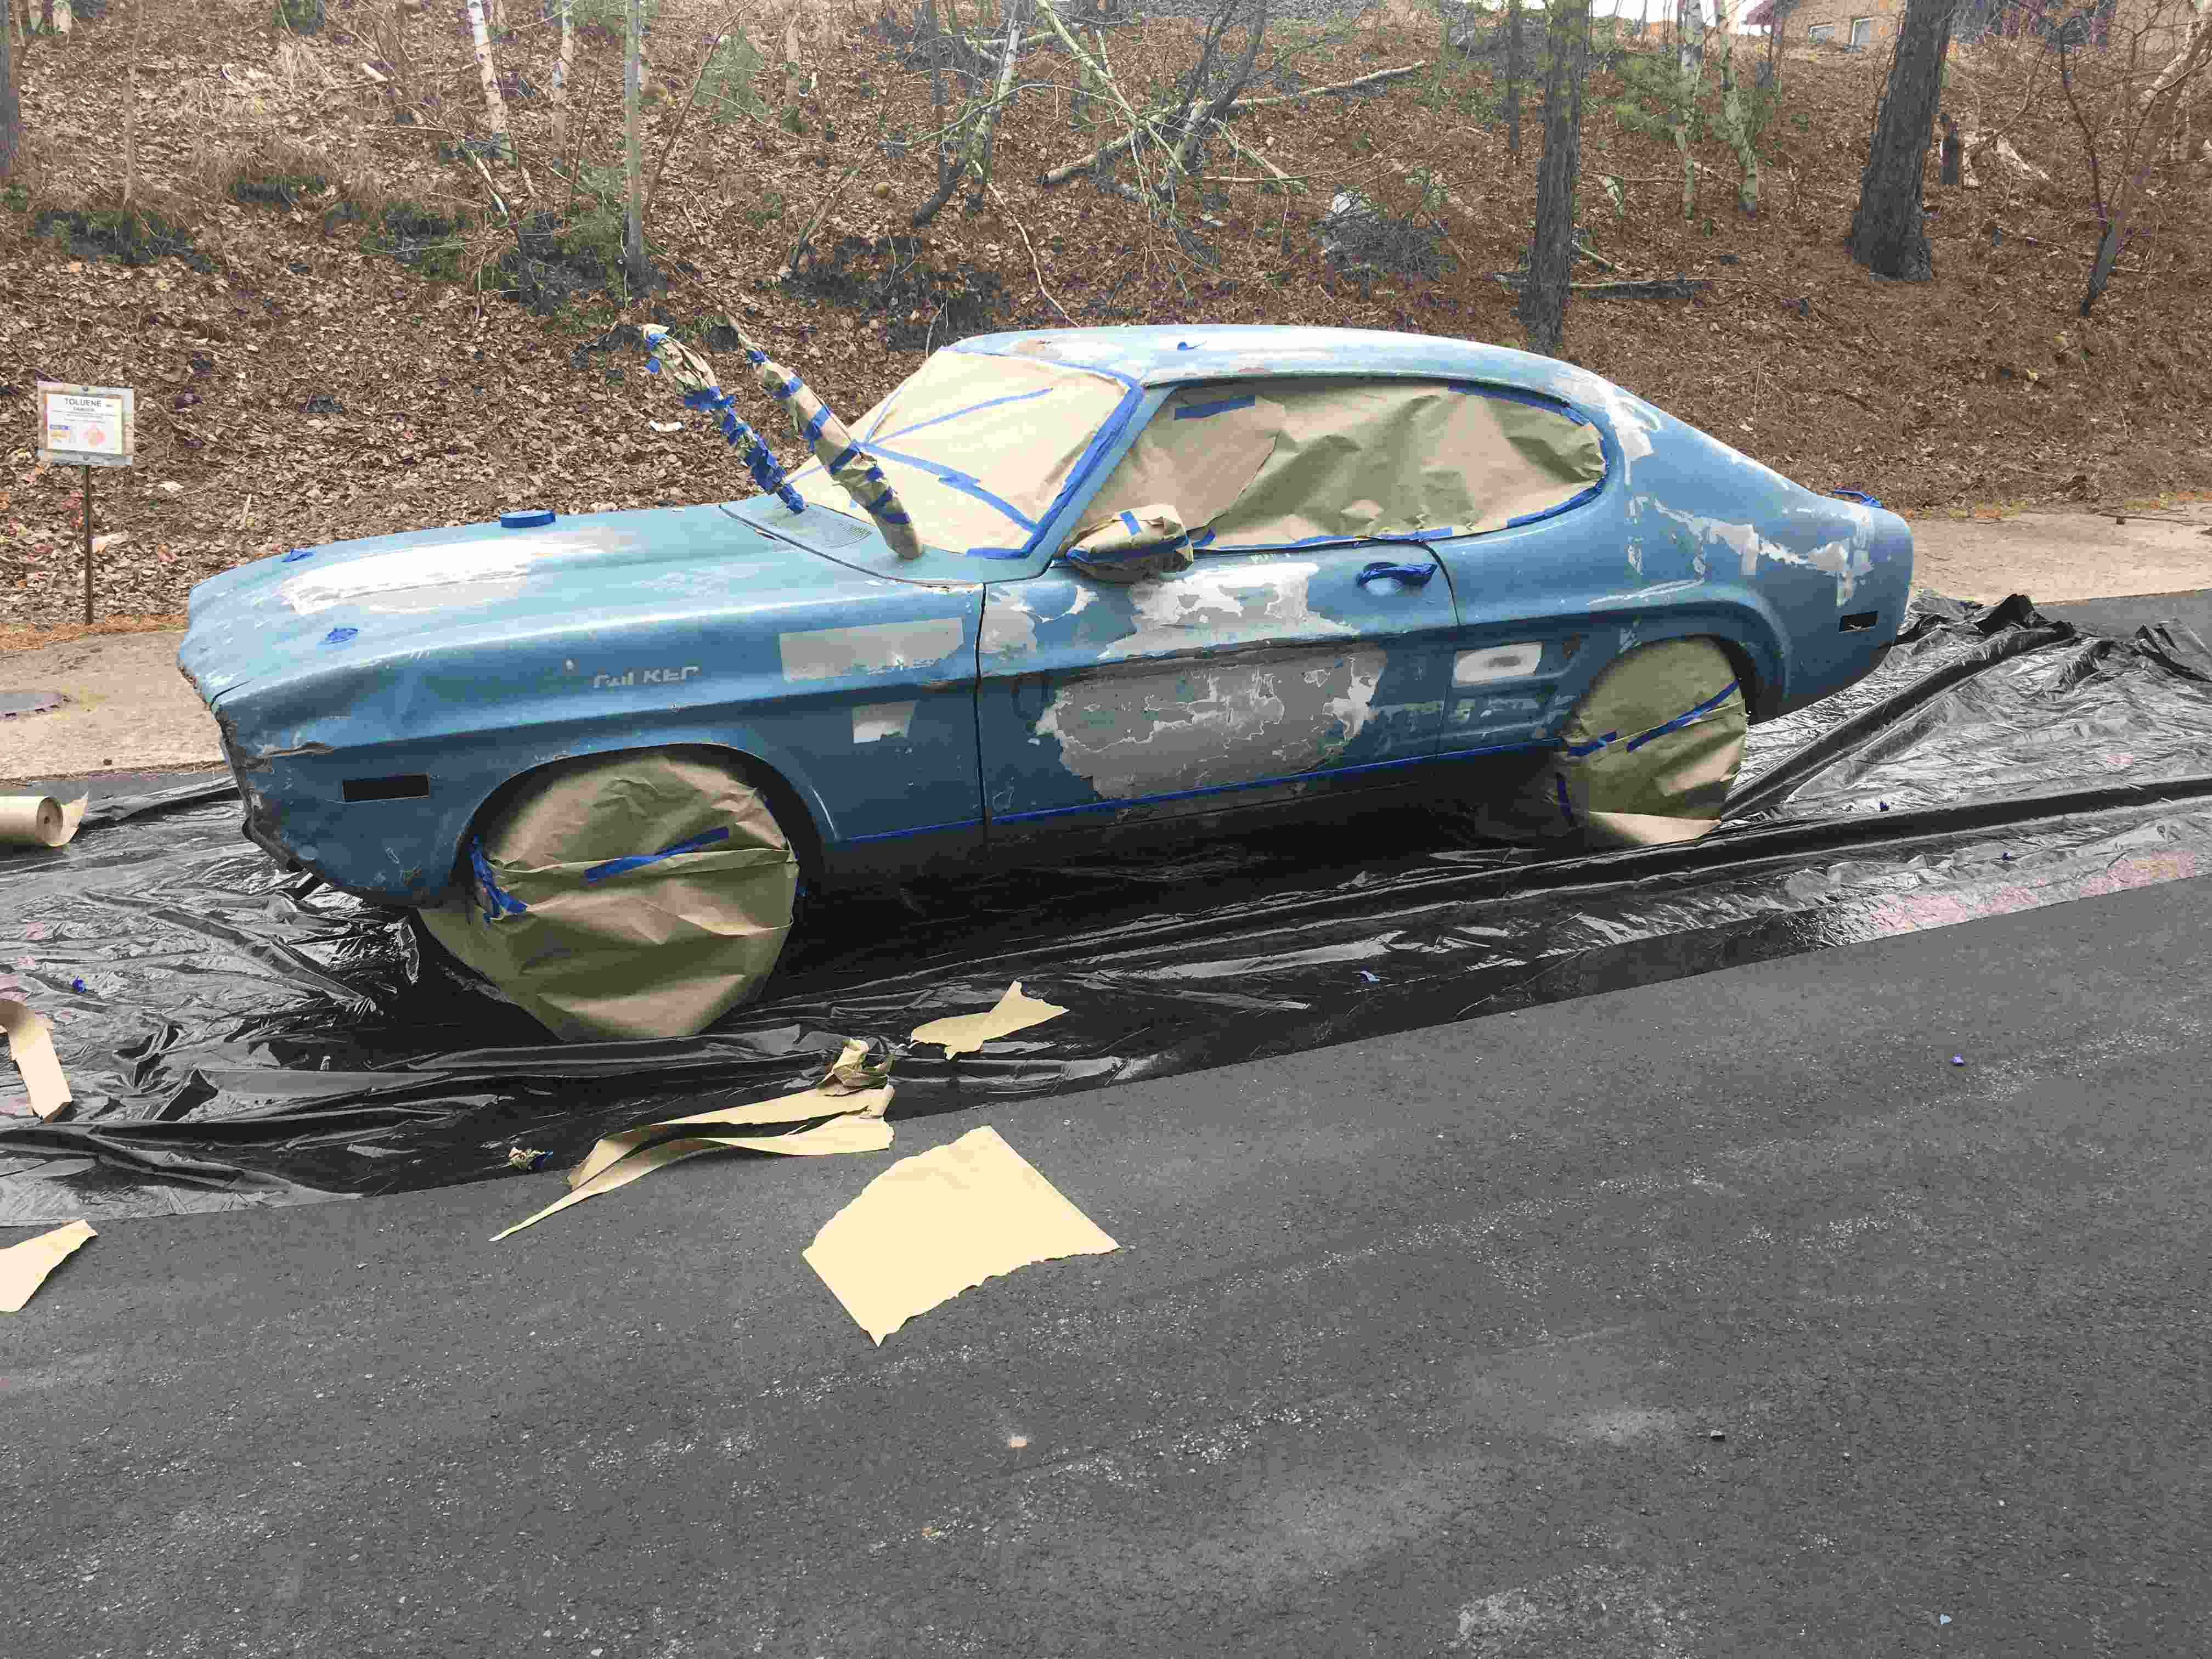
Also please check out Nick’s latest article at Autoweek related to a 24 Hours of Lemons race car that turned into much more.  (and no, that is definitely not our Capri)  

Podcast Episode GHiT 0043: Nick Pon from the 24 Hours of Lemons HQ

Truck Theme for our New Racing Truck

or What to do with El Jeffe/The Boat

The Artist Formerly Known as the Boat
Picking up the new race truck.

With the Capri dead, the Mustang ready to go racing, and the new truck added to our team, we started working on the new design.  As always we have two goals with our car designs.  1) Stay within our “Garage Heroes” thematic lane and 2) Try to make a car better than any of our prior efforts.  So here we are, looking at our new (to us) Chevy S-10/Isuzu Hombre.  Mechanically, it seems in almost race ready condition.  We do have a clutch line bleeding issue to work through but even I should be able to get through that.  Any ideas on what our Chevy S-10 truck theme design could be or should be?

Complicating issues are that we don’t have a lot of time to work through this and we are weather dependent, as all our work is outside until we get another house with a garage.  Also, it is a race truck, so that lends to general direction and eliminates several design direction choices.  

Too Much?  Come on you know us by now

Enter Labor Day weekend.  We have our racing team mates / brother and sister in law’s family up for the long weekend.  Initially reason was for them to get away from home and spend some time with us and the new addition to our family.  Zoe Lemons Fischer.

Zoe Lemons Fischer posing for her profile picture

Far be it from me to push things along, but I wanted to get a new theme in place for our upcoming race at New Hampshire in 6 weeks.  After looking at the a 1997 Isuzu Hombre truck, we agreed on a theme and direction.  Now a little birthday guilt from me and the whole team was off to Home Depot to start working on our new theme.  The centerpiece was intended to mount onto the roof of the car.  We would also do our usual at home paint job and apply several decals to mostly finish up.  We like to try to leave some time for dialing in our themes with final additions and tweaks.

What is the theme for a super hero car that is actually a truck?  We thought immediately of the Hulk.  Our initial plan was to have a Hulk head on the cab of the truck and then have the body extend out the bed of the truck down to having some large Hulk feet at the end of the bed.  Was the Hulk captured, sleeping it off after a night of partying with Thor, getting a limo ride home from “Super Uber”, we weren’t sure at this point, but let’s not have a plan get in the way of progress.

We stated with three different paths to make a head.  One was to build it out of spray foam around a PVC tube and mounting bracket.  The second was to build it out of solid foam insialtion boards and then scuplt and/or foam as needed.  The last way was that we found a Halloween decoration head that we woudl use to build up a Hulk head onto it with spray foam insualtion.  with three ways of making it, one of them had to work.  How hard coudl it be?

If you remember, we made “Bondo” to drive along on top of the Mustang our of PVC tubing and spray foam.  However, the foam we used wasn’t great for detailed shaping since it had large open pores on the inside, kind of reminiscent of some overly rustic breads.  So this time, we tried a new spray foam that worked much better.  It was XXXXfddX spray foam.  It does not expand as much, but it does have a finer pore structure and is much more easily formed and shaped. than the old foam we tried earlier.

As most of you know, I have zero/negative artistic ability, so Jennifer and Vicki took the reigns on making the Hulk head and the rest of the truck theme design.  Progress was pretty quick.  We tried the new foam and it seemed to work great.  We used a variety of shaping techniques, some working better than others, but all making a huge mess, lol.  We ended up liking the Dremel with a barrel sander attachment as the best for fine work.  For larger material removal we went with a sure-form type of tool with a variety of sizes being handy.  We did end up purchasing a hot foam cutter set, but it wouldn’t arrive in time for this one.  we can report back on its use on our next project.

  • Initial Sculpting
  • Touch up required
  • Foam hair extensions

So the Hulk ended up taking about 2 days to fabricate including drying time.  The final product is to remain secret until the unveiling at our Lemons race in New Hampshire.

So here is the part of the story that may show the potential issue with running without a plan.  We started the head before we had the truck.  Unfortunately, the head we made was a bit too large for the truck.  I think we had in mind a full size truck and the truck is just a wee bit smaller.

  • Too much?
  • Too big?

New Truck Theme Ideas

Time for several team meetings, discussions, and minor disagreements.  The clock was ticking and we either had to change plans, start over, or leave the truck theme as is and run what we brung (or bought).  Our team may have a candidate for our new truck theme, but it may not be better than our last car and time is running out.

Any ideas or suggestions?  I think we have agreed on a plan but maybe there is a better idea.  We would love to hear from you on a potential truck theme you’d like to see us try.  Even if we don’t do it now, we may on our next car or when we redo our car theme or truck theme in the future.    Thanks again for following along.

Come Out with Us and Enjoy the Ride!

1984 Mustang GT Turbo Prep 2018 – Theme

So we get back home and we had such a great time we “decide” let’s race two cars next time. Only a few issues. Second car isn’t running and needs a new theme. We only know the four of us who raced, and we need at least 8 drivers. Oh, and the Capri which ran great all weekend won’t start. So what does a smart team do. We don’t have a clue, but we entered the race in August for Thompson Raceway for TWO cars.  Time for Mustang Theme Prep.  

  • Initial Car theme
  • Starting to plan

While we had a good plan for our theme, the mechanical fixes put us way behind schedule.  We had 2 weeks to get the car ready and it was still in its original condition.  The second car is a 1984 Mustang GT Turbo. Not the SVO. (Didn’t even know that was possible.) Anyway needed some work to get it going.  After getting the car running, it’s time to focus on another theme and how to get it done. We checked into wrapping it, but that is pretty expensive and at around $2500-3000 and was not in the budget. We painted the last one with a HVLP system but had issues, mostly due to a lack of talent on our part. But while getting the fuel cell hose at the local parts store, I see a spray on wrap system from Dupli-color. We pick up a few cans (48) and give it a run. It has a base coat that should allow us to remove it like a normal wrap and is likely easier to repair than normal paint. So we are in. How hard can it be?

Our Mustang Theme Prep had to fit the car and our team name.  We ended up going for a Spiderman tribute team for this car.  The theme isn’t terribly appropriate for the car necessarily and the blocky nature of a fox body Mustang doesn’t remind you about his movement, but we went for it anyway.

As always, Mustang theme prep starts with a ton of sanding.  We had to remove all the decals and prior theme materials to get to a smooth flat surface.  Again we avoid using Bondo.  This time we had two excuses.  We don’t have any experience and we also had no time for drying.  Luckily the car wasn’t too far gone, so the lack of body work isn’t too noticeable.

We also decide to try to make a Spiderman to ride on top of the car, at least through tech inspection, but hopefully during the race.  Somehow late one night he was given the name “Bondo” by Casey and Vicki and it stuck.  Kind of appropriate for Spiderman, no?  Version one involved using a flexible mannequin and putting on a Spiderman costume.  This worked well except it did not have any flexibility in the torso, so it was very stiff looking, and the mannequin was about 2 meters tall.  Not exactly what we were aiming for.

Enter plan B.  We get some 1” PVC tubing and fittings and create a mannequin on our own.  The “model” was one of our team members laying on the paper covered floor and tracing her to get a more appropriate height for Spidey.  Through a combination of T fittings and X fittings, we were able to build up a 3-point stick figure with a “pose” where Spidey was shooting his webbing from the other hand.

Bondo, midway, pre-sculpting

Bondo got his physique using several layers of low expansion expanding foam applied to the PVC.  This worked well and was easily sculpted with hacksaw blades to a final form.  We then put on the costume.  The ends of the PVC tubing would be attached with plumbing fixtures to the roof and we added an extra T fitting mid torso on Bondo in case we needed another attachment point to our car roof.  Our plan worked nearly perfectly for what we aimed for.  The only issue is that Bondo had a fracture of the femur while putting on the costume.  We did not have time to remake him, so he was relegated to low speed use.  We may retry for future races.  Still TBD at this point.   The concept is solid, but the execution failed us.

After lots of sanding and surface prep we begin our first coat of the base color. As you would expect, we had no good place to do this, so we used a few tarps and did all the painting in the middle of the front yard.  It took a bit longer than we thought, mostly due to cars stopping by a lot and asking questions or just driving by with puzzled looks on their faces. Those that knew us already knew we had issues. 

  • Initial Layer
  • Midway
  • Final Red
  • Layout of Swoosh
  • Final Spray Wrap

We did learn from our first trial and used much thinner coats this time.  Our biggest issue were the wind and sun.  The paint ended up not as glossy as we wanted in some spots but that’s due mostly to the wind/sun, as some areas are exactly what we were aiming for. If only the photographer would get his shadow out of the frame.

We then taped off the second color with ¼” vinyl tape to get a good swoosh and help break up the blocky shape of the car.  Making the second side match requires skill. Skills I don’t have. Luckily the rest of my family is pretty artsy and make up for me.  A few measurements and tape marking key transitions and we were on our way.  It only took a bit more than 40 cans and three days.

It was now time to try to bring it all together. Our team likes to add details that no one notices but us. I’ll highlight some as we go. I do like our personalized license plate though. 

  • Ant Man Is In The House
  • Hood with Webbing

Finally unite our finished car with Bondo. Ready to go to the race. The webbing is 1/4 black vinyl tape. 350 feet of black vinyl tape.  I especially like the hood.  The tape we used lights up white in the dark. Who knew. PS we got quite a few stares and honks while driving out to Thompson CT for the race. Perhaps it was Bondo inside the car? 

  • “Final” Car Theme
  • Glow In The Dark Webs

PS there is an alternate use of Lemons car decorations. Place Bondo on your next-door neighbor’s car early in the morning and watch as the kids wake up. Especially fun when the little Boss Baby loves Spider-Man and grabs his older brother and sister to see.

Morning Surprise

Enjoy the Ride!

Post NJMP Race – 2018 Lemons Race

Well, all in all the race went pretty well.  We prepped the car for the race, ran it in practice, ran the race both days.  The only things we needed to do was change the tires after Friday’s practice to a new set, check our brake pads, and implement the adjustments Chris suggested.  This Lemons thing is pretty simple.  Prepare car, race car, drive home.  No biggie.  What’s all the fuss.  (tongue firmly in cheek as we shall see shortly and even more so at our next race). Post 2018 NJMP race.

After sleeping consistently for the rest of the week or at least wishing we were sleeping……

By the way, the drivers weren’t the only ones who had a great time. 

  • Jennifer helped with keeping our camp in order and making sure everyone was fed, but boy was she hooked.  She did not know how to drive a manual transmission, but was intent on entering as driver for our next race.  She ended up taking my daily driver for a week and she was “ready” to go.
  • Casey was our primary pit crew person on the site taking care of the car radios and helping with gas runs (as long as there was a Slurpee (or 4) involved) and generally helped everyone out all weekend was also interested in learning to drive a stick and racing at the next race.  Casey also ended up learning on my car and was “ready” to go as well for our next race. 
  • The rest of Jennifer’s family, Jim, Jimmy, and Jacob. Also seemed to have a great time.  Jimmy especially liked having his face on the hood of another car.  Jacob and Mia took to the paddock area and were generally entertained.  How did we know for sure.  No whining all weekend by two 11-year-olds.  Jim, a long-time car guy, seemed to enjoy it, helped us in the pits, and was excited to come up and get involved in the next race. 
  • Jimmy and new Friend from the “Sorry for Party” team
  • Jimmy’s “Tribute” car or maybe it was Bob Ross afterall
  • Mia, our little driver in training now, was so excited she also wanted to race in the next race.  We were pretty sure the Lemons team wouldn’t be open to an 11-year-old entrant, but she could start training for the race when she was older.  She now had never ending interest in go carting and we ended up going 12 times between our race at NJMP at the end of May and the next race we entered in CT in mid-August.  That’s even more dedication since the go cart track was almost two hours away from home each way.  Sadly, I actually have to try to beat her now, but so far so good, still undefeated, lol.
Mia and Morgen at one of the many trips to K1 Speed in Poughkeepsie, NY

We also learned from a neighbor that our trailer could be made a lot more stable with an upgrade of our tow hitch to one that uses torsion bars.  There are a lot of designs and suppliers, but we ended up going with one from etrailer found here.  

Did the hitch upgrade have the desired effect?  Yes it did.  We went from having 1) a bit of a wiggle when going down steep hills and 2) when driving next to 18-wheeler trucks to having no issues with either on our next trip.  It did cost a bit more than the standard hitch, but it was well worth it for stress reduction and less “pucker” moments on the road.

So now we have 6 drivers, a “working” 1974 Capri and a “TBD” 1984 Mustang GT Turbo.  This leads to two projects.  More drivers and more cars ready to race in the Lemons race at Thompson CT.  The driver issue was partially improved when Vicki posted about our race on Facebook and a friend from CT commented almost immediately.  This lead to Alan joining our team.  He is tremendous at car maintenance and modifications, helping to partially solve our lack of skill in these areas.

Our final driver to join the team came as a surprise to me.  Vicki and I went out to dinner one night after catching up with my old college roommate and meeting for dinner.  During dinner with Pete and his lovely wife we ended up talking about the lemons race (nope, not obsessed at all) and Pete said he was in.  It came as a surprise to me as it did not seem to fit his personality well, but we now had a full team of drivers.

On to the cars.  Remember the whole prep car, drive car, how hard can this be.  Well when we arrived home, the Capri would not start.  After being bullet proof all weekend and running up until we put it in the trailer, I was puzzled.  It turned out we had a bad fuel pump.  I’m not sure how or when it died, but it was done.  We ended up replacing the fuel pump, fuel cell foam, fuel cell feeder hose and hose filter in order to get it back up and running.  We also inspected the spark plugs and they were a bit dark, so we ended up changing the jets on the carburetor.  We can’t drive on the street, so we shall see what happens at the race.

Onto the Mustang Covered in more detail in a separate posts.  (Mechanical and Theme).  We had a suggested To Do list from the prior owners (team Prompt Critical) and also performed a general inspection and performed normal maintenance and fluid changes.   In total we ended up:

  • Changing the seat (since our drivers tended to be on the “muscular” side
  • Changed the steering wheel
  • Cleaned up the wiring in the engine bay
  • Tried to find a suspected fuel leak near the O-ring at the fuel supply line (no luck)
  • Changed the oil pressure gauge from mechanical to electric
  • Changed brake fluid to racing fluid (Wilwood 660)
  • Oil Change
  • Flush radiator and refill with water

The list doesn’t look like much, but somehow between the two races, we rapidly ran out of time, even with the help of our friends at D&A assisting with several of the items mechanically.  (This was all done before Alan joined our team).  It actually seems like no skill level makes things take longer, lol.

Now the car was “ready” and we were off to the races. 

Again a status review is probably needed.  We now have two cars racing and 8 drivers (4 brand new and 4 seasoned, with 1 whole race, lol), we are towing two cars for about 6 hours to the race and meeting everyone else at the track.  Oh, I almost forgot, we decided to camp at the track in two rented RV’s.  How hard can it be?

Come with us and Enjoy the Ride!

Capri Car Prep – Theme

  • Initial Car Theme
  • “Final” Car Theme

As you probably expected, we had zero experience on our team for car theme prep for a car in a 24 Hours of Lemons race.  It took us weeks to finally come up with a team name we all could agree on.  We finally settled on Garage Heroes (In Training) and hopefully it sticks, especially since it is now the website we are using.  It hopefully stated our goal to eventually reach a decent level of capability both driving and mechanically, but also stated we are far from there.  Finally, it complimented our team being comprised of a bunch of comic book movie fans and several of us have enjoyed comic books since the 1970’s.  Yes, they had paper back then.

Now, to begin to prepare the car and the theme. 

With so many colors to choose from and so many potential themes that could apply, we were baffled for quite a long time.  We finally settled on the Avengers theme we ended up with.  The timing was right as the fourth Avengers movie was coming out just before our May race at NJMP (and the Avengers comic was my favorite growing up going back to volume 1 issue 131 so I was on board early)

We used what we had on hand and finally some of my woodworking background came in handy.  I had a HVLP spray gun for painting and we thought we could use it for painting the car.  The steps we used, and our progress are covered below. 

The one agreement we had with the former team (Prompt Critical) was to change our number so they could retain the old one.  (Note extra credit points to the first who figures out why we chose the new number.  Anyone?)  Anyone familiar with painting a house knows that the key to a good outcome is the preparation steps and care.  First step was to remove the stickers and decals on the car.  Particularly hard for us was the hood that had a decal that seemed like it was made of metal, but we eventually got through it.  As they say we had a team “beach party” because there was plenty of sanding to do.  Top tip:  Slurpee’s and pizza increased productivity dramatically.  We tried every type and device we could find or think of at a lot of various grit sizes.  What we found worked best was the following items.

Capri:  Sanded and Prepped for Paint
  • Sponge sanding blocks, 60, 120, and 240 grit, especially the ones with the grooves
  • Rubber sanding paper cleaner stick.  Takes all the residue out from between the grit and expends the life of the sanding surface by 3-4x or so.
  • Red nylon wool discs for a hand drill:  gets a good amount of paint and decal removal, especially in the bottom of panel grooves. 
  • Orbital disc sander:  works on flat surfaces very well but pay attention to not groove metal panels
  • We did not try a belt sander although it was suggested.  Our concern was the rapid material removal may be too fast and cause surface damage to the sheet metal of the body .
  • Bondo:  We don’t need no stinking Bondo.  It was our goal not to use it unless absolutely necessary.  It was probably necessary, but we didn’t use it anyway. 
  • Adding to the complexity of this operation was the rust and the rusted through holes (I am guessing this is fairly common for many/most Lemons cars to be).  Rust is a ceramic material and as such it is much harder than the metal and the removal rate is much slower.  Pay special attention to any area that may have rust so that you don’t remove more metal from the area around the rust than the area of the rust. 

Our process was to remove most of the paint and all the decals looking to get a smooth surface.  The prior paint was probably original and had a ton of oxidation, so it had nearly a sand paper texture to it.  Hopefully your surface won’t be as rough.  We ended up about 60% or so bare metal.  We were going to paint it almost immediately, but if not, you may want to apply a thin coat of primer or clear to prevent any rust from coming back as bare metal rusts quickly. 

We then masked off the surfaces with painters’ tape and painting paper and began our first effort to spray paint a car. 

We had decided to paint with an automotive paint from a local Colours store.  We chose a dark blue for our car and “saved money” by not priming or applying a clear coat after.  We shall see how the painted surface wears with time.  We ended up getting one gallon and using almost all of it on our relatively small car (but we probably painted it a bit thicker than needed).

The desired goal was to look good at twenty feet.  We would be happy to look good at 20 feet and 50 mph.  I think we got there.  But there are a lot of drips, mostly due to overly thick layers of paint.

  • At Tech Inspection
  • “Final” Car Theme
  • Relaxing after Tech

Things we found/learned:

  • Try to spray in thin coats.  This means the color changes but may not reach the final color.  Come back later with another coat in 15-30 minutes.
  • Try to keep a wet edge to avoid varying paint thickness
  • Try to move the paint in a path where it is at the same angle to the paint surface, not in the natural arc you would get from pivoting at you shoulder etc. 
  • Short people and kids are great for reaching the lower sections like the rockers etc.
  • Masking off tires with a cloth paint drip cloth is the easiest thing we found so far
  • We “heard“ that when masking off the car, don’t forget to mask off behind the grill or you could end up with a painted radiator.  There is no evidence of this happening on our car.  Seriously, no, never happened. Just helping a friend.  
  • Painting outside in the sun and wind are not best practices but it is what we had so we did, and it worked OK.  Again we weren’t looking to get into a showroom here.
  • Try to give the car about 2-3 three days to dry and harden.  That includes don’t put a car cover on to keep any rain out etc. 

Now we have a blue car and while it may look better, this is not what a Lemons racing car is thought to look like.  We need stripes and decals and lots of other stuff.  We ended up going with a long, centered Go Fast stripe vinyl decal we found on Amazon.  We also found a large Avengers “A” vinyl decal for the front hood that we liked.  Add a few more character stickers to the car as “driver icons” and the car was basically where we wanted it to be.  Some hand painted touches of the side stripes of white and red by our artsy team member Vicki and another vinyl “Avengers Assemble” decal provided by our friend Jeff at the Three Pedal Mafia and the car was as ready as we knew how to get it.

Estimated costs were about $100 in prep supplies, $300 in auto paint, $20 in other paint. $200 or so in decals and it took about 5 long days with 4-5 people. 

We hope you think it turned out ok.  If you have any questions or need more detail for nay part, please let us know.

Enjoy the Ride!

We made it to the race!
« Previous Page

Primary Sidebar

Most Recent

  • Tom O’Gorman Returns for a Second Lap
  • Top 5 Tracks that are Fun to Drive
  • Tom Thalmann
  • Our Hero Related Preview of 2023
  • Retreat From Moscow 2023

Categories

  • Aerodynamics
  • Autocross
  • B Spec
  • Cars, Mostly ours
  • Comic Books and Movies
  • Dialing In
  • Dominating with Dawson
  • Driver Education
  • Fitness
  • Food
  • GLTC
  • Grid Life
  • Guests & Interviews
  • Honda Challenge
  • HPDE
  • Lemons Rally
  • Mechanical
  • Motorcycles
  • Our Team
  • Races
  • Racing 101
  • Radios and Communication
  • Safety
  • SIM racing
  • Sundae Cup
  • Telemetry
  • Themes
  • Track Photography
  • WoOT

  • About Our Team